After installing Exchange Server 2019 on Windows Server 2025, the next step I took was configuring the server for actual email flow, user access, and security. This post covers the initial setup tasks I performed to get everything working smoothly.
1. Accepted Domains
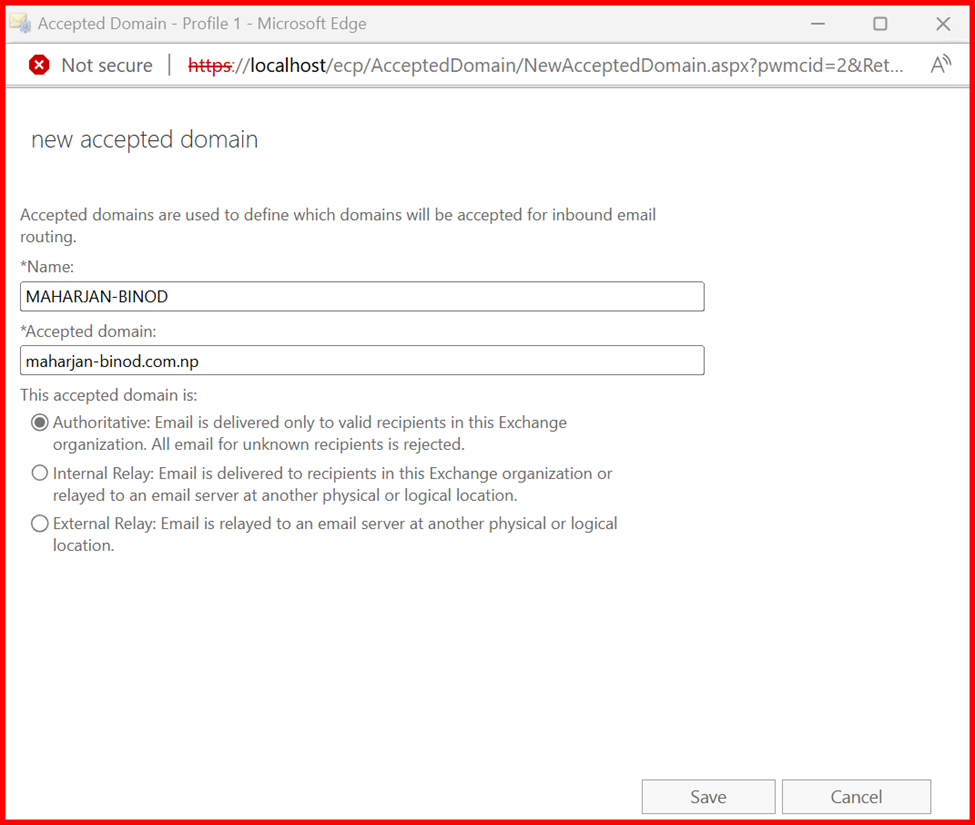
In Exchange Server, Accepted Domains define which SMTP domains your organization can receive emails for.
By default, Exchange configures the internal domain (e.g., maharjan.local) during installation. However, for email communication over the internet, it’s always best practice to add a custom domain—one that’s publicly routable (e.g., maharjan-binod.com.np).
To add a custom accepted domain:
- Go to Exchange Admin Center > Mail Flow > Accepted Domains
- Click Add (+) to create a new domain
- Enter your public domain name (e.g.,
maharjan-binod.com.np) - Set it as Authoritative, unless you’re using it for hybrid/coexistence scenarios
This step is essential to ensure that Exchange can receive emails sent to your public domain from the internet.
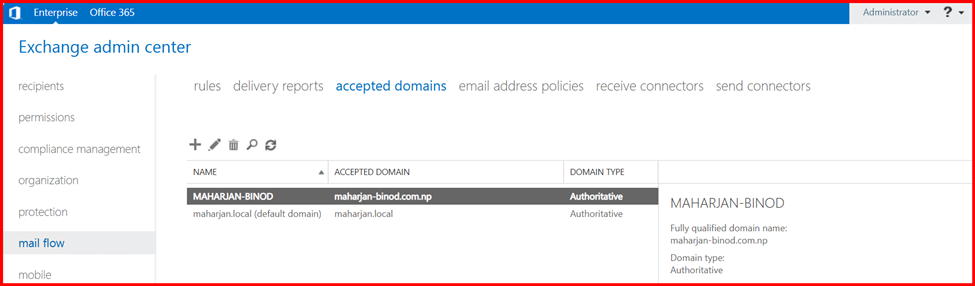
Make this Custom domain as Default domain.

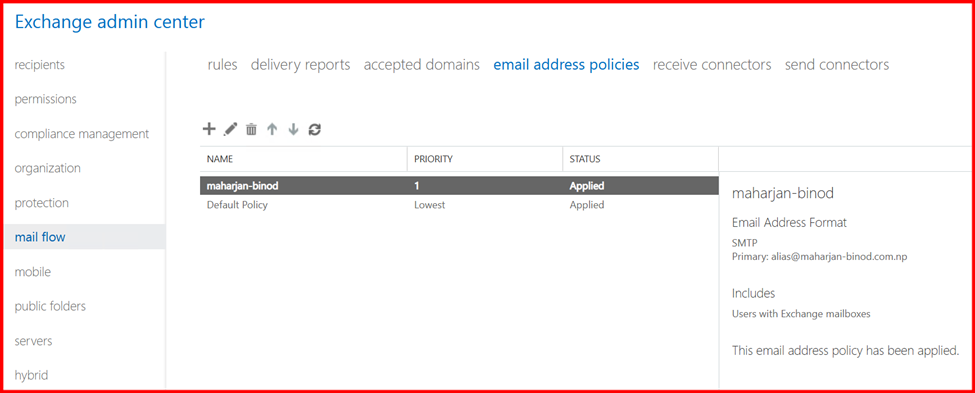
2. Email Address Policies
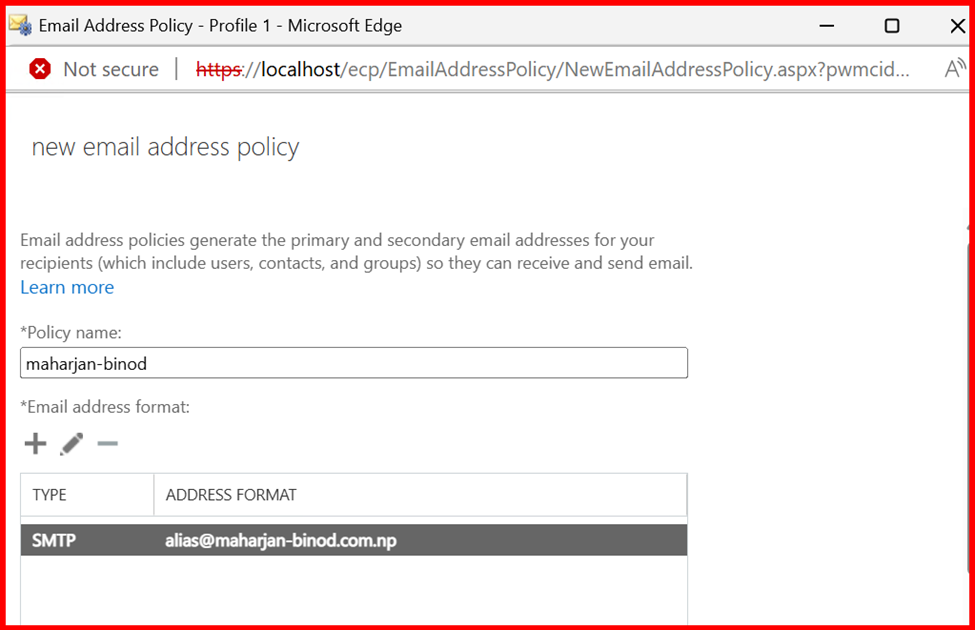
Every organization should define Email Address Policies to standardize how email addresses are assigned to users. This ensures consistency, professionalism, and easier management across the environment.
By default, Exchange creates a policy that uses the internal domain (e.g., user@maharjan.local). However, when using a custom accepted domain (like maharjan-binod.com.np), it’s important to update or create a new email address policy that reflects your public domain.
For example:
You might want all users to follow the format:
firstname.lastname@maharjan-binod.com.np
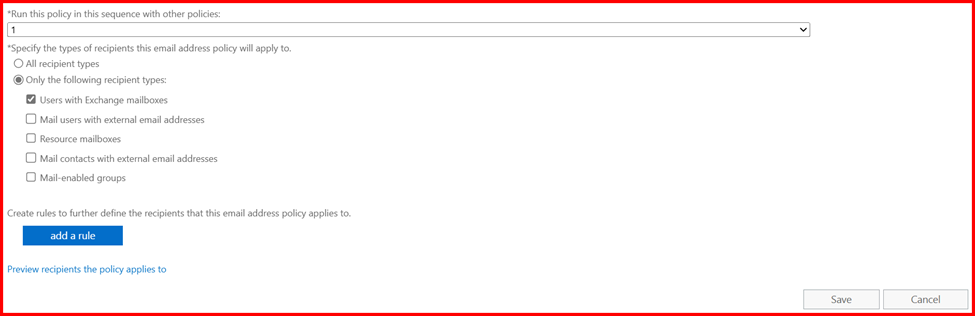
Steps to Configure:
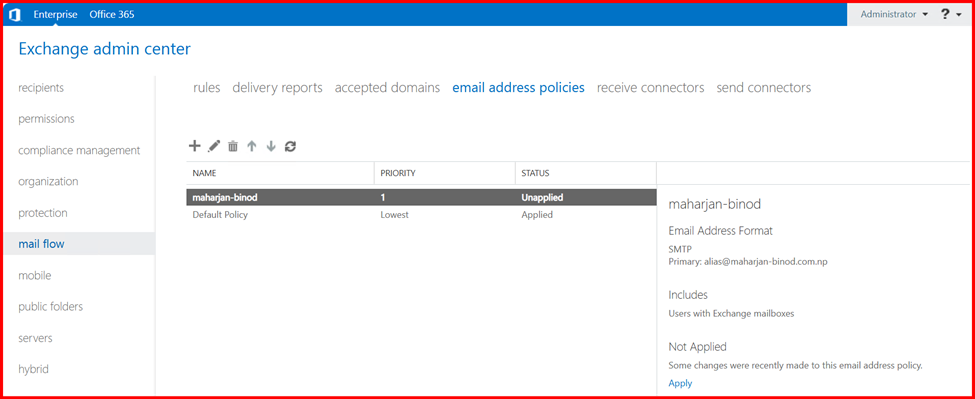
- Go to Exchange Admin Center > Mail Flow > Email Address Policies
- Click Add (+) or edit the default policy
- Set the desired format (e.g.,
alias) - Assign the correct Accepted Domain
- Apply the policy to the required users or groups
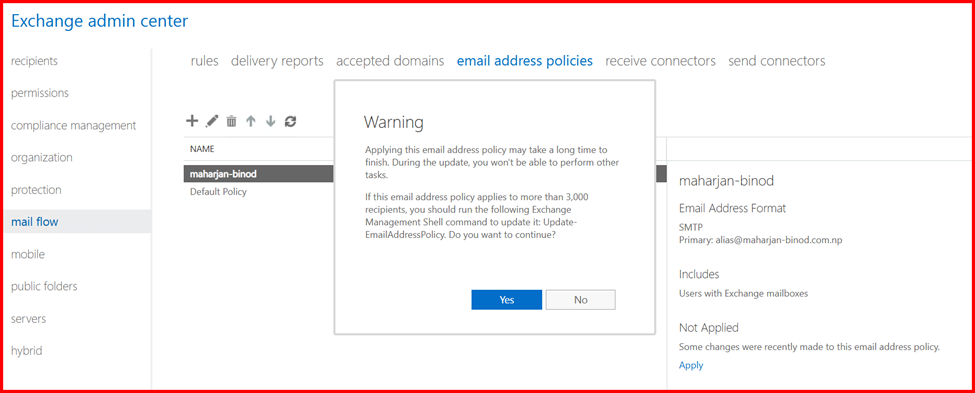
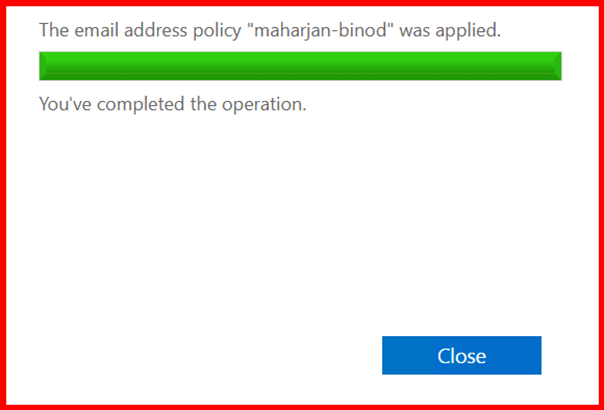
- Save and apply the changes
After applying the policy, Exchange will automatically generate email addresses for new users that follow the defined format.
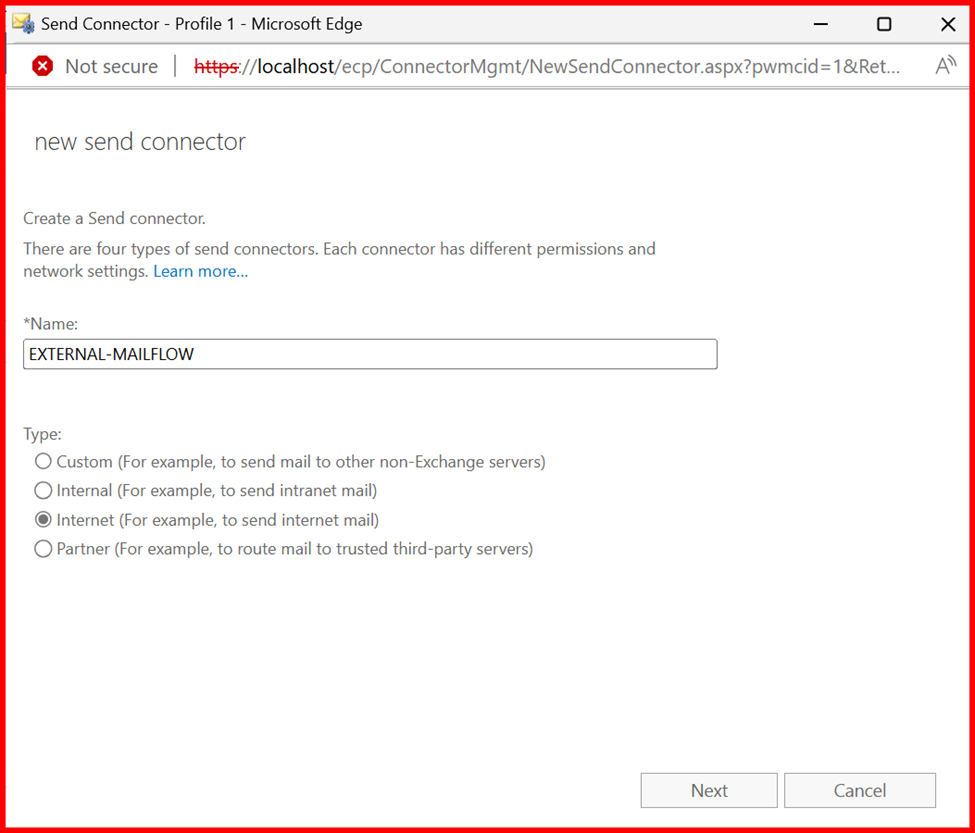
3. Send Connectors
In Exchange Server, Send Connectors are responsible for routing outgoing emails to the internet or other external mail systems. Configuring a Send Connector is essential for enabling external mail delivery.
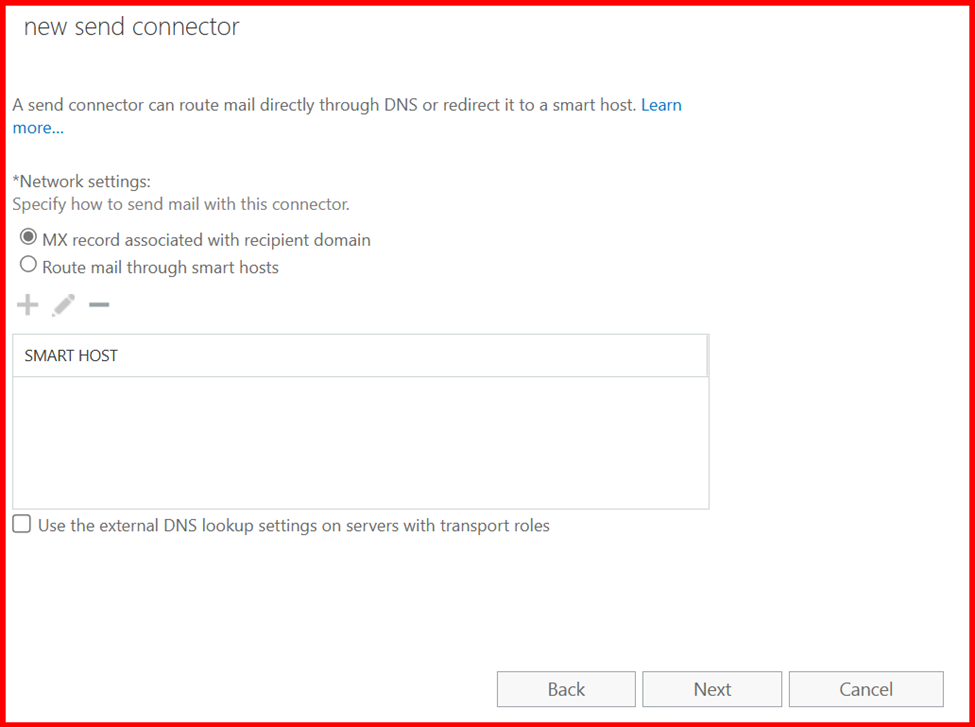
The configuration of a Send Connector depends on your organization’s mail flow architecture. For example:
- If you’re routing mail through a smart host (e.g., a relay server or cloud service like Microsoft 365 or a spam filter appliance), you’ll specify the smart host’s address.
2. If you’re sending mail directly to the internet, you’ll configure the connector to use DNS to resolve recipient domains.
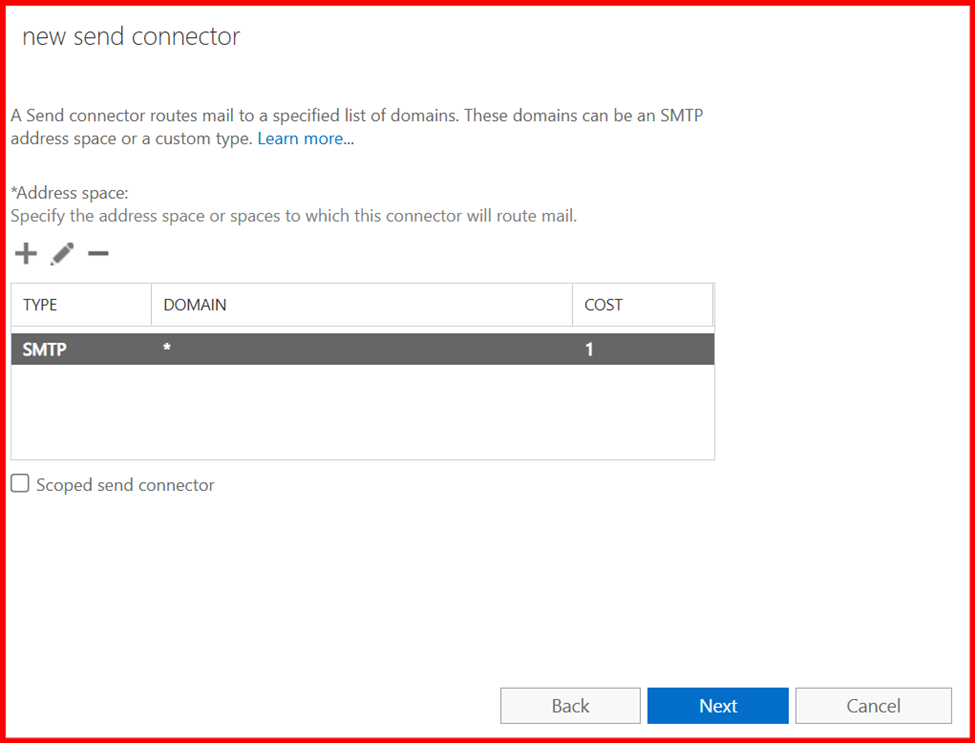

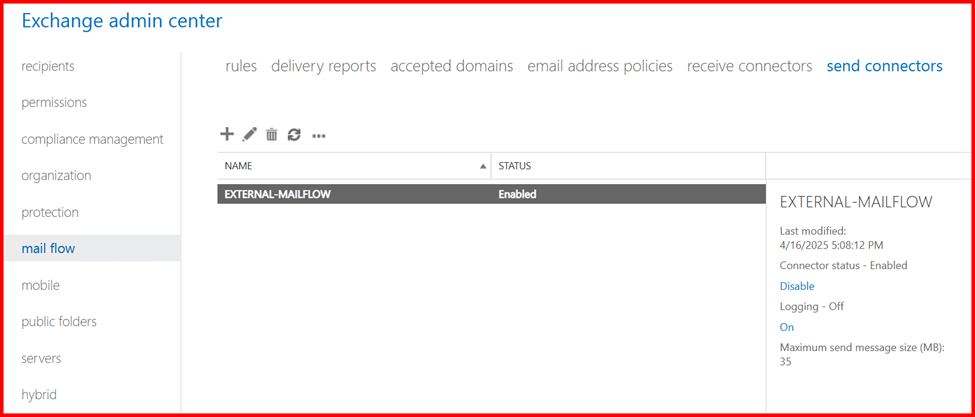
Note: For internal Mail flow, send connector is not required, only require for external purpose.
💡 Tip: Make sure port 25 (SMTP) is open on your firewall and router for external delivery.
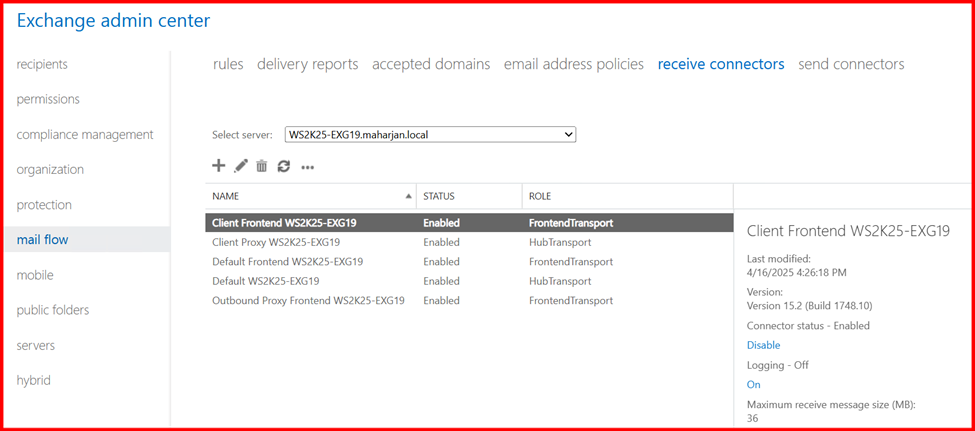
4. Receive Connectors
Receive Connectors in Exchange Server handle all incoming email traffic—whether it’s from the internet, internal systems, or applications.
By default, Exchange creates the necessary Receive Connectors during installation, and they are typically configured to support most environments without any manual changes.
Unless you have specific requirements—such as allowing a relay from a multifunction printer, a third-party application, or another mail server—there’s no need to create or modify these connectors.
⚠️ Be cautious when modifying Receive Connectors, especially if enabling anonymous access or setting up relays, as it can introduce security risks.
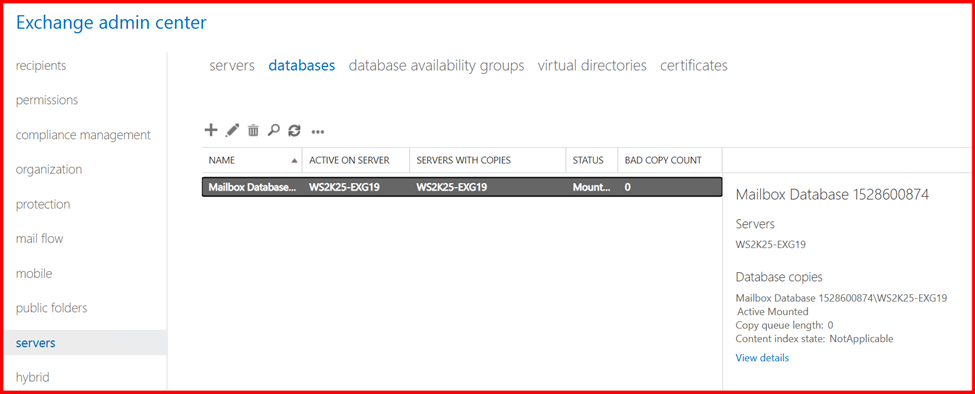
5. Mailbox Database
During Exchange Server installation, a single default mailbox database is automatically created—typically located on the system (C:) drive. This database is fully functional and can be used to host user mailboxes immediately after setup.
Unless you have a well-defined storage plan, database quota policy, or a need for multiple databases to support larger environments, it’s best to leave the default database as-is for now.
⚠️ Best Practice: In production environments, it's strongly recommended to move mailbox databases off the system drive to avoid performance issues and simplify disaster recovery.
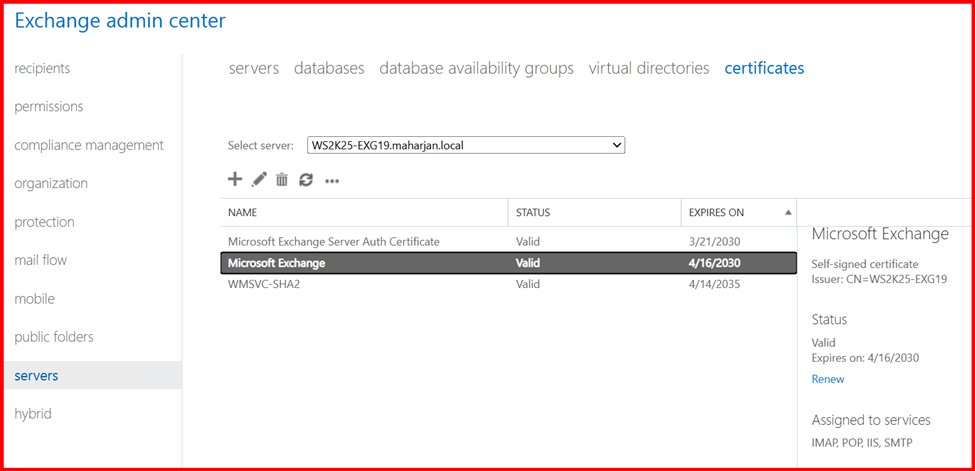
6. SSL Certificates
Exchange Server uses SSL certificates to secure communications between clients and the server—such as Outlook, OWA, ActiveSync, and SMTP connections.
By default, Exchange installs a self-signed certificate during setup. While this is sufficient for internal use (within a trusted network), it’s not trusted by external clients or browsers, and will result in security warnings.
👉 Best Practice:
For public access (e.g., OWA, ActiveSync, Outlook Anywhere), you should obtain and install a Public SSL Certificate from a trusted Certificate Authority (CA) like DigiCert, Sectigo, or Let’s Encrypt.
Use the self-signed certificate only for internal testing or lab environments.
💡 Tip: Use a SAN (Subject Alternative Name) certificate that includes all necessary Exchange service URLs (e.g., mail.maharjan-binod.com.np, autodiscover.maharjan-binod.com.np).
Proper SSL configuration ensures secure, encrypted communication, improves user trust, and is essential for avoiding client errors and mail delivery issues.
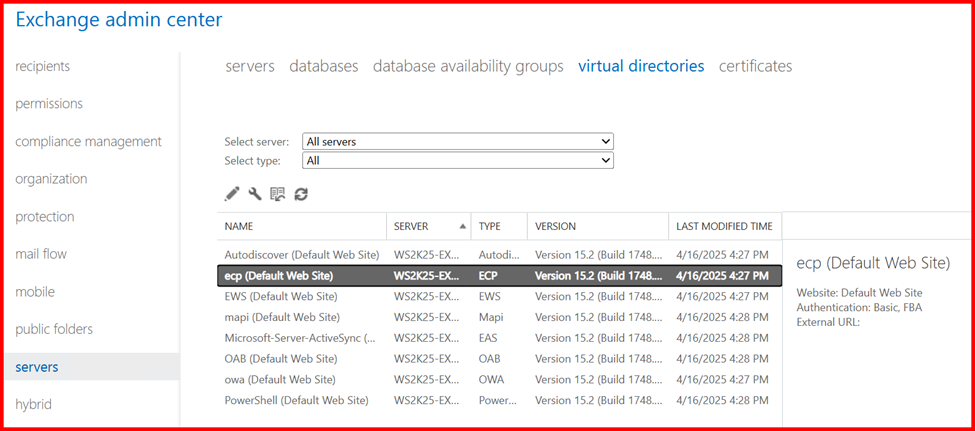
7. Virtual Directories (OWA/ECP/Autodiscover)
To allow clients to access Exchange Server services, it’s essential to configure the virtual directories properly.
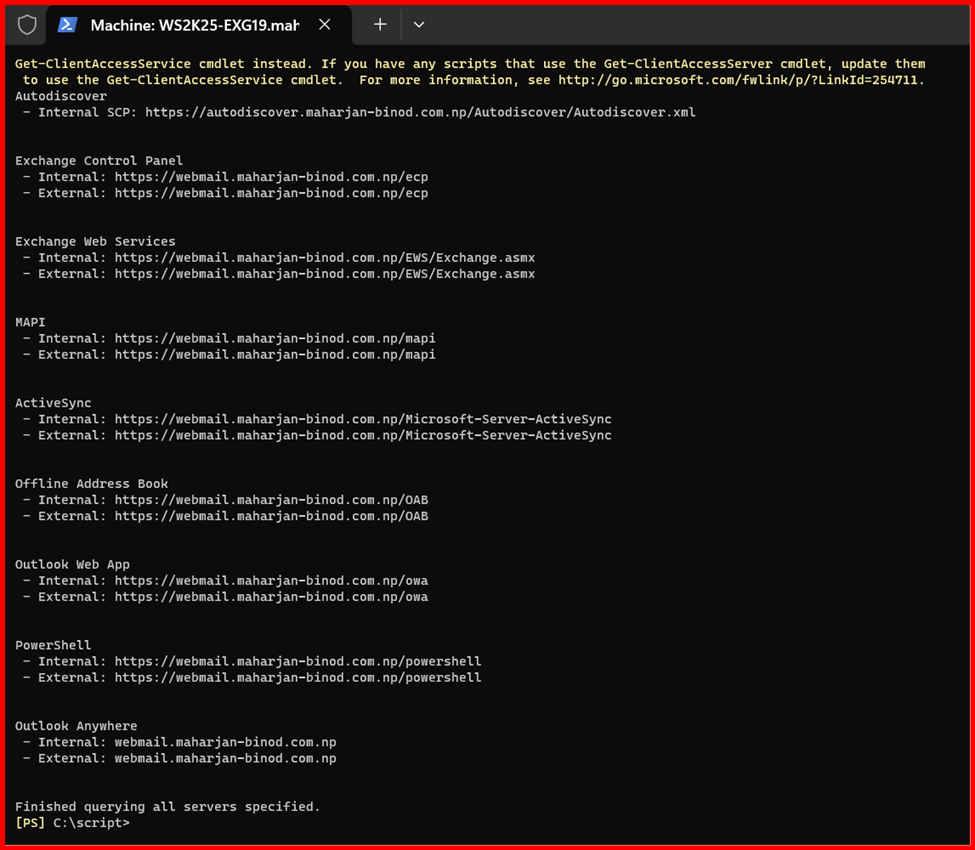
If you’re planning to access Exchange internally, you can use a URL like internal.maharjan.local. For external/public access, a URL like external.maharjan.local might be used. However, for best practice and to simplify configuration—especially for Outlook clients—it’s recommended to use a single unified URL for both internal and external access, such as:
mail.maharjan-binod.com.np
Each virtual directory serves a specific purpose. For example:
- OWA (Outlook Web App) – Used by users to access their mailbox through a web browser.
- ECP (Exchange Control Panel) – The admin console for managing Exchange.
- Autodiscover – Automatically configures client settings like Outlook profiles.
- MAPI, ActiveSync, OAB (Offline Address Book) – These handle client connectivity, mobile email sync, and offline access respectively.
Properly setting up these virtual directories ensures reliable and seamless access to Exchange services for both administrators and end users.
8. Wrapping Up and Final Thoughts
Finally, the Exchange Server 2019 configuration is complete. As a system administrator, I can now start creating user mailboxes in the configured database. These mailboxes follow the defined email address policies and use the specified accepted domains.
To provide users with access to their mailboxes, I’ve configured the OWA (Outlook Web App) virtual directory, allowing access via a web browser. For email delivery, I’ve set up the necessary Send and Receive Connectors, which handle outbound and inbound mail flow.
A critical part of this setup is the SSL certificate, which helps secure communications between clients and the Exchange server—especially over the internet.
This configuration covers the basic foundation required to use Exchange Server for email communication. However, this is just the beginning. For a production-ready environment, additional configurations are required, particularly around:
- Security (anti-spam, anti-malware, DKIM, DMARC, SPF)
- High availability and backup
- Monitoring and alerting
- Mobile device policies
- Client access rules
I’ll be diving into those advanced topics in future posts.
Leave a Reply