Migrating mailboxes across Microsoft 365 tenants can be complex but manageable with proper planning, tools, and execution. This guide covers everything IT admins need, including scripts, mapping examples, and troubleshooting tips.
Considerations
- We require appropriate access and permissions to your source environment and Microsoft 365 tenant to provide data migration services.
- Our data migration services aren’t designed or intended for data subject to special legal or regulatory requirements.
- We can’t guarantee the speed of mail or file migrations.
- Unforeseen issues (like unreadable or corrupt items in the source environment) might prevent our ability to migrate some of your data items.
- External factors beyond our control can result in changes too, delays in or suspension of our data migration services.
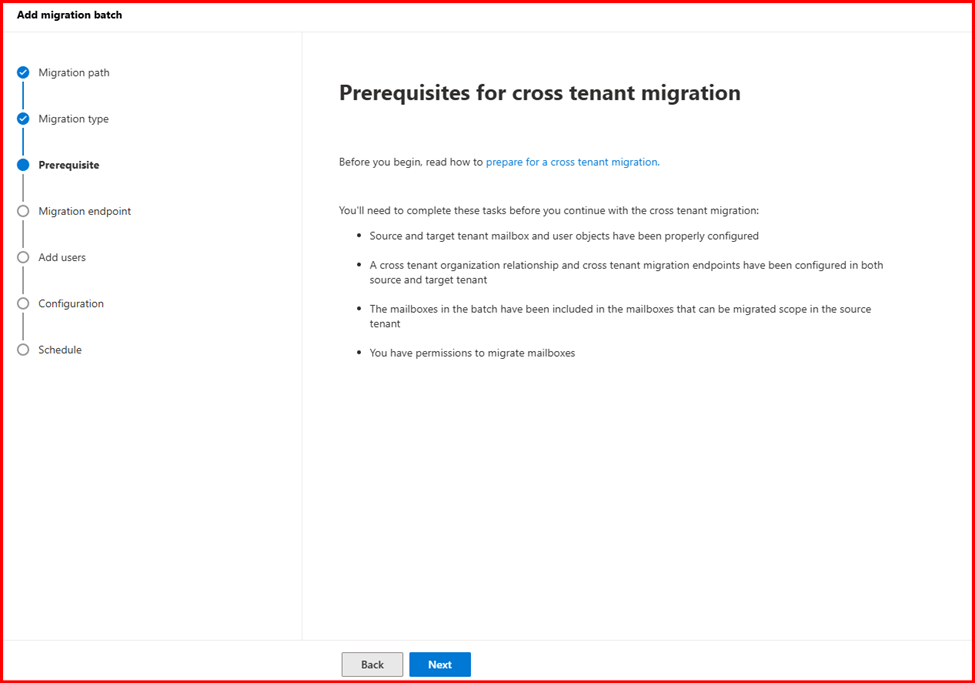
Step 1: Consider the Prerequisites
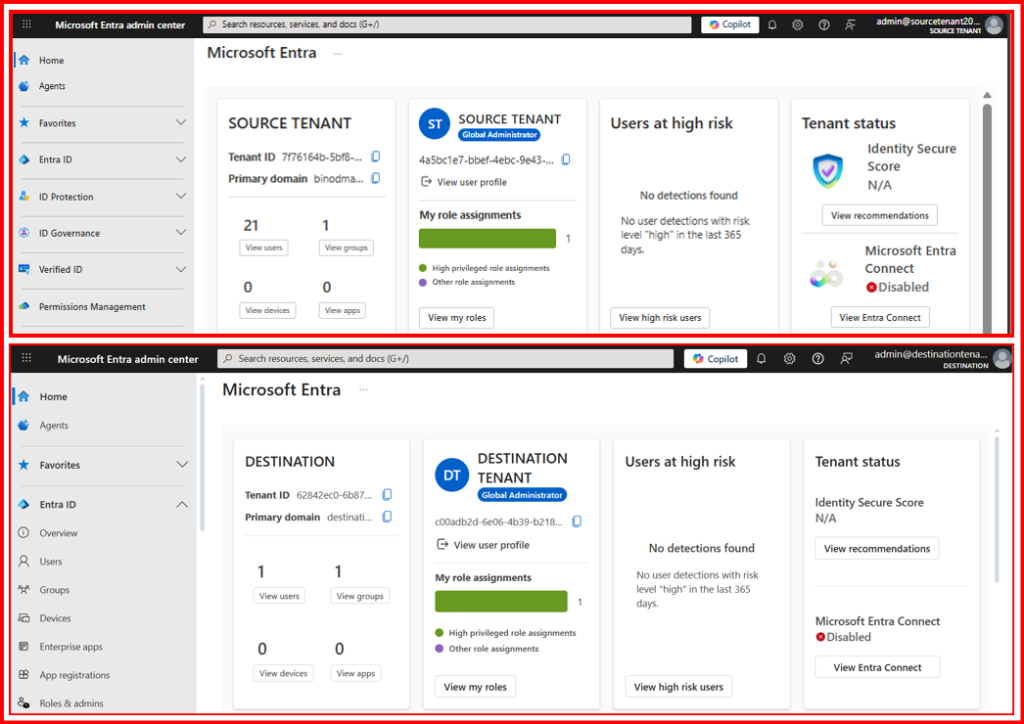
Before beginning, you need to obtain the tenant IDs for both the source and target tenants. To do this:
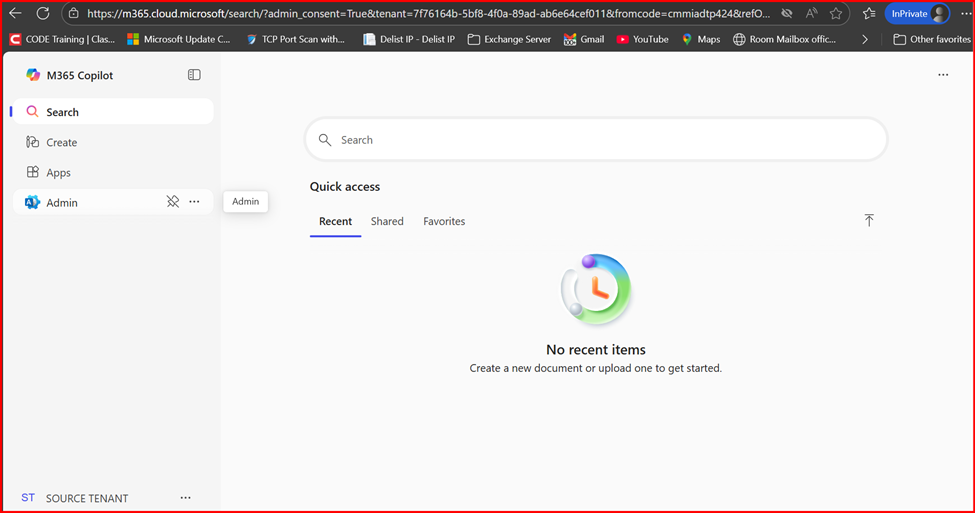
- Sign in to the Microsoft 365 Admin Center.
- Navigate to entra.microsoft.com and open the Tenant Overview.
- Click the copy icon next to the Tenant ID property to copy it to your clipboard.
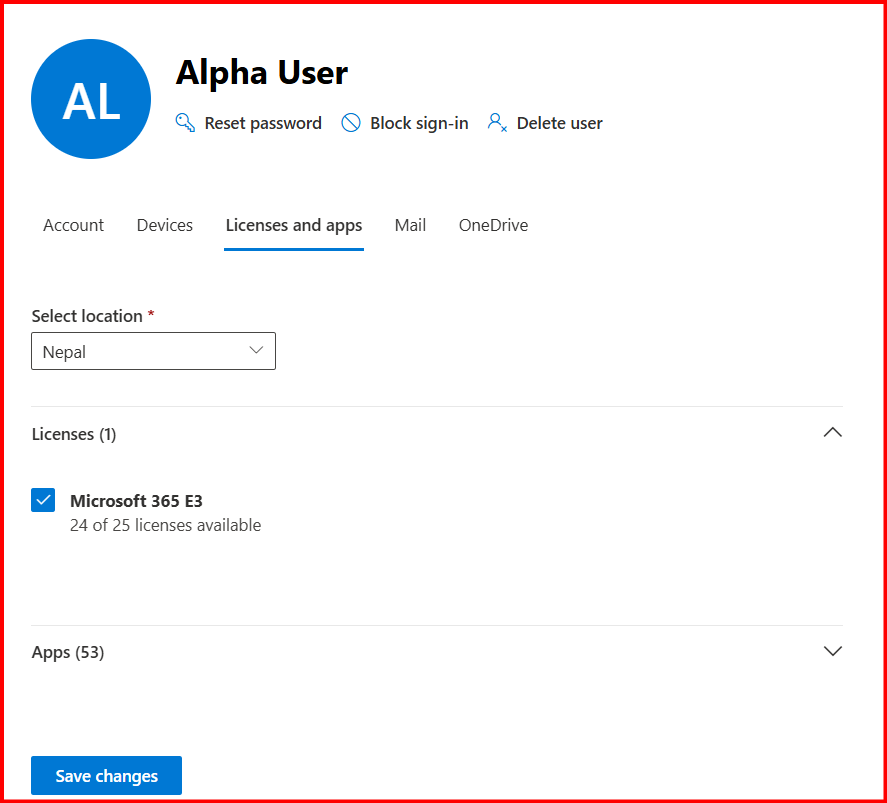
Additionally, ensure that the target tenant is already created and that all users to be migrated have licenses assigned in both the source and target tenants.
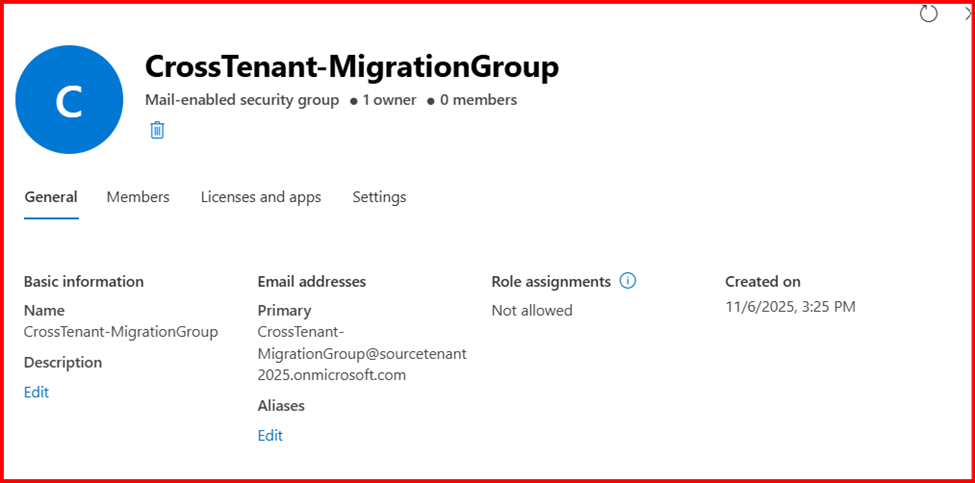
It is also recommended to have at least one mail-enabled security group in the source tenant. This group helps scope the migration to only the intended mailboxes, preventing any accidental transfers.
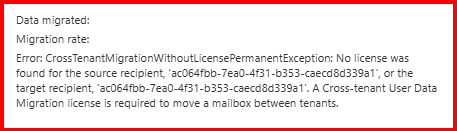
Note: CrossTenantMigration required “Cross-tenant User Data Migration License“
Without “Cross-tenant User Data Migration License” license, you may face migration error:
Step 2: Preparing the Target Tenant (DESTINATION)
The next step is to create a migration application and client secret to set up the destination (target) tenant. Follow these steps:
- Sign in to entra.microsoft.com.
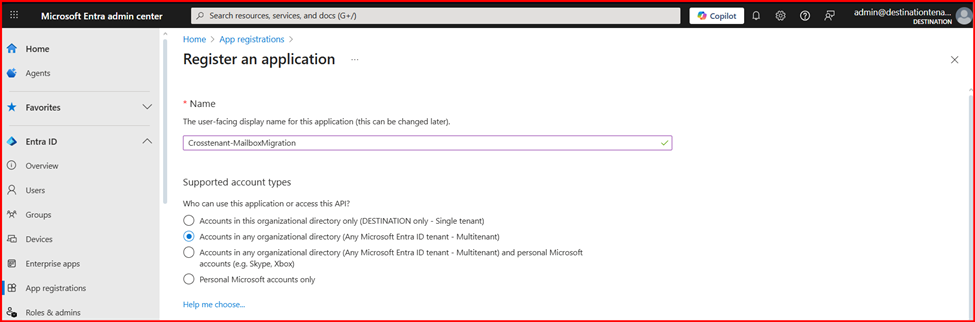
- In the navigation pane, select App Registrations and then click New Registration.
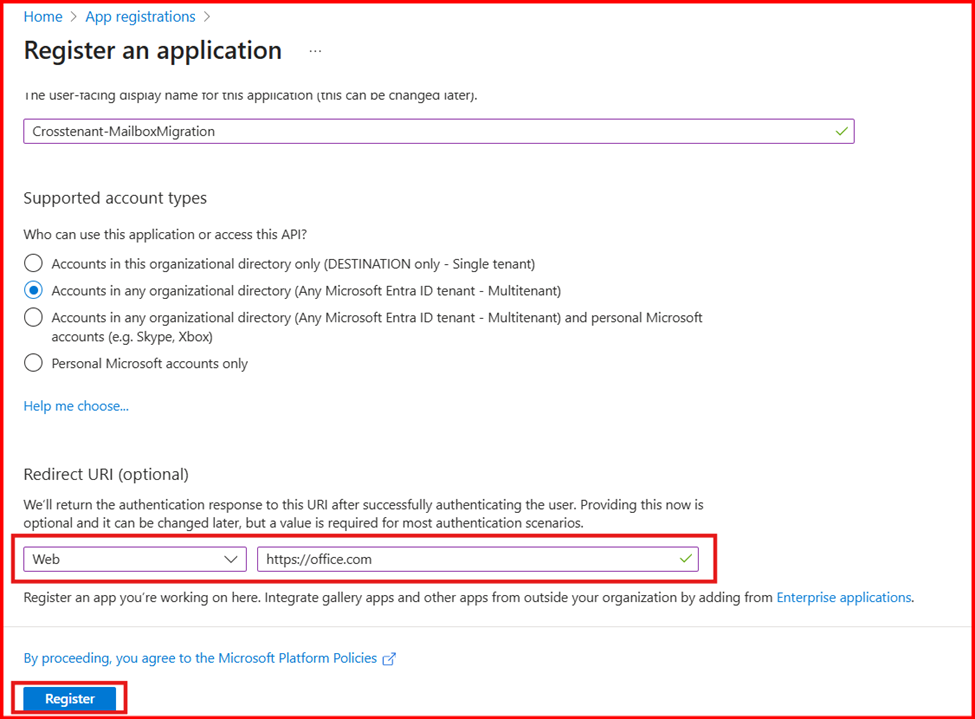
- Enter the name of the application. On the Register an application page, click on Accounts in any organizational directory (Any Microsoft Entra ID tenant – Multitenant), under Supported account types.
- In the Redirect URI, select Web and type: “https://office.com”
- Once done, click on Register. This will create the application.
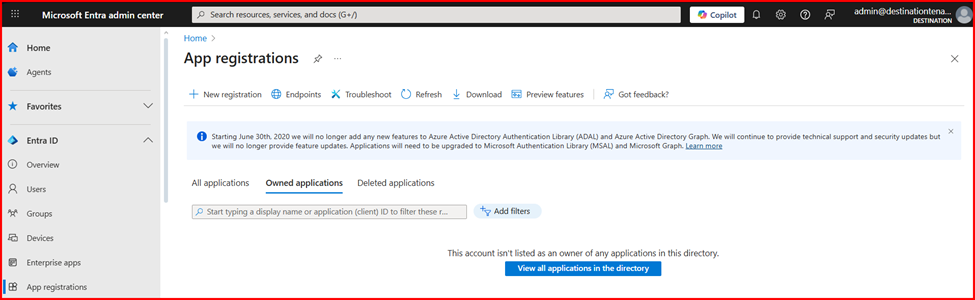
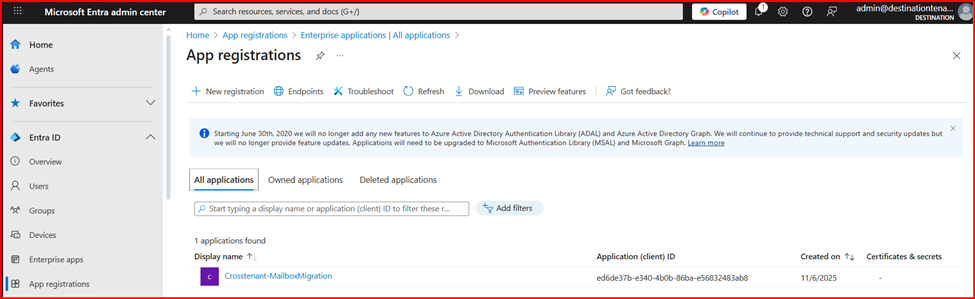
- Now, go back to Home Page and open Microsoft Entra ID. Then, click on App Registrations.
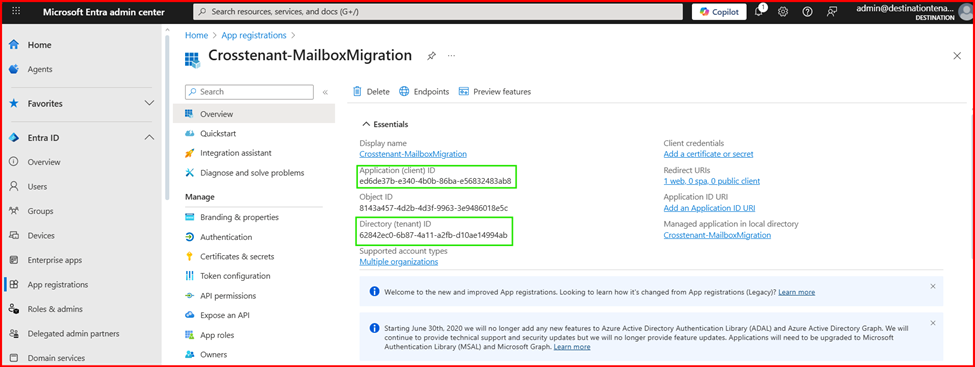
- Navigate the Owned applications and click on the newly created application.
- Under Essentials, copy the Application (client) ID as it will be needed later.
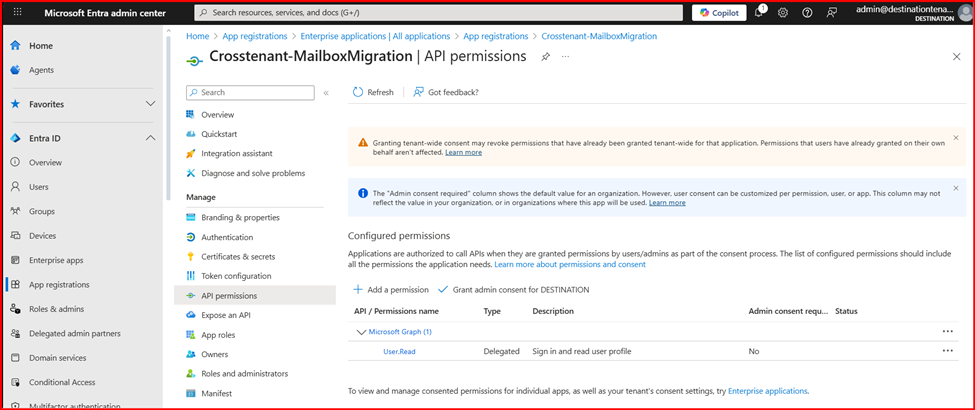
- In the navigation pane, select API Permissions.
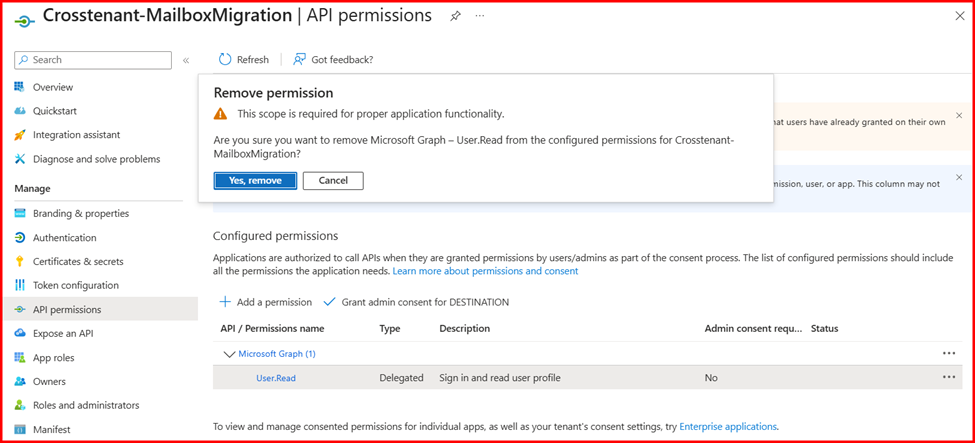
- By default, the User.Read permission is automatically assigned to the application. Since it is not required for mailbox migration, you can safely remove it.
- Click Add a permission. In the new window, under APIs my organization uses, search for and select Office 365 Exchange Online.
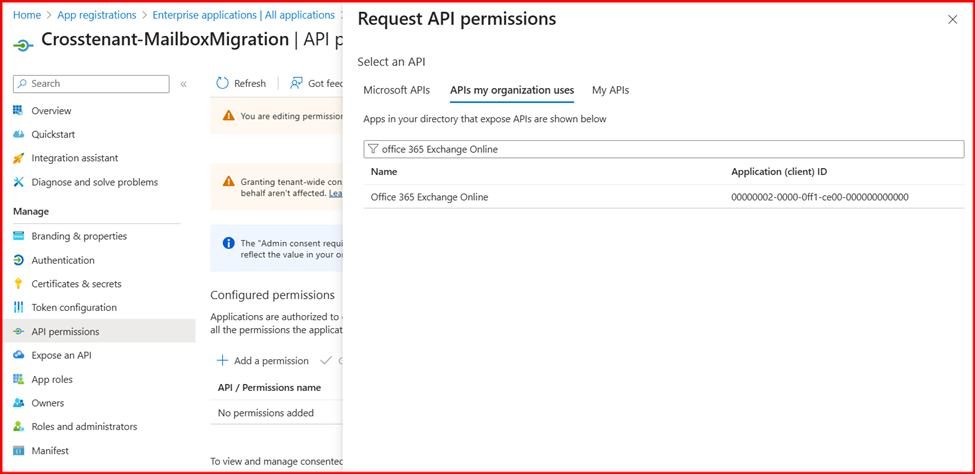
- Select Application permissions. In the Select permissions section, expand Mailbox, choose Mailbox.Migration, and then click Add permissions.

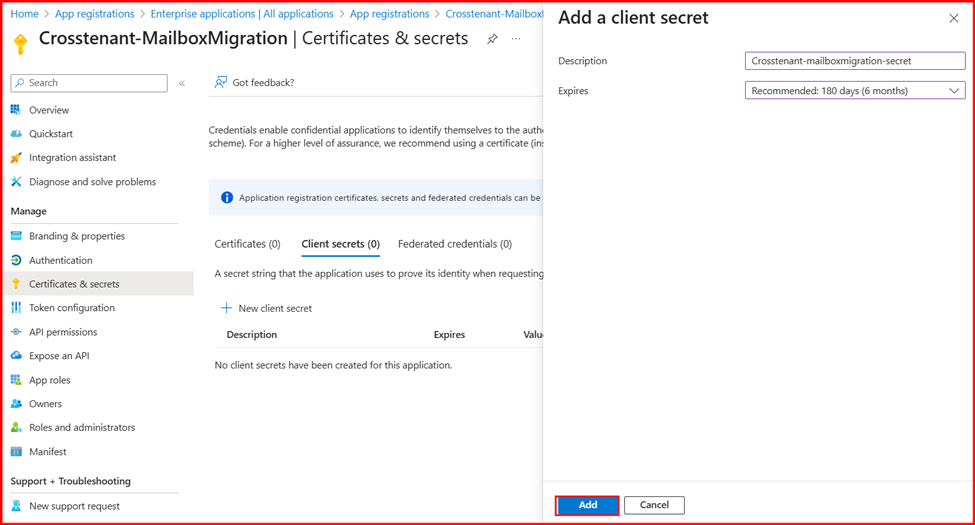
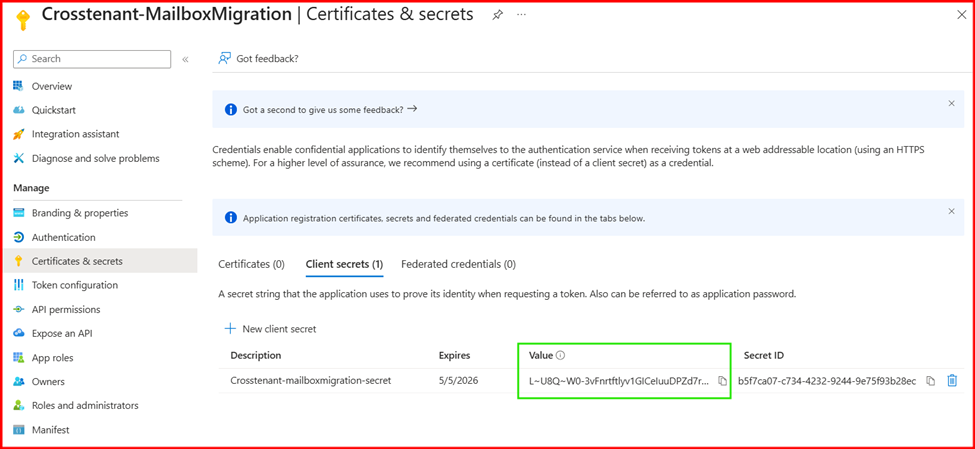
- In the navigation pane, select Certificates & Secrets. Under Client secrets, click New client secret.
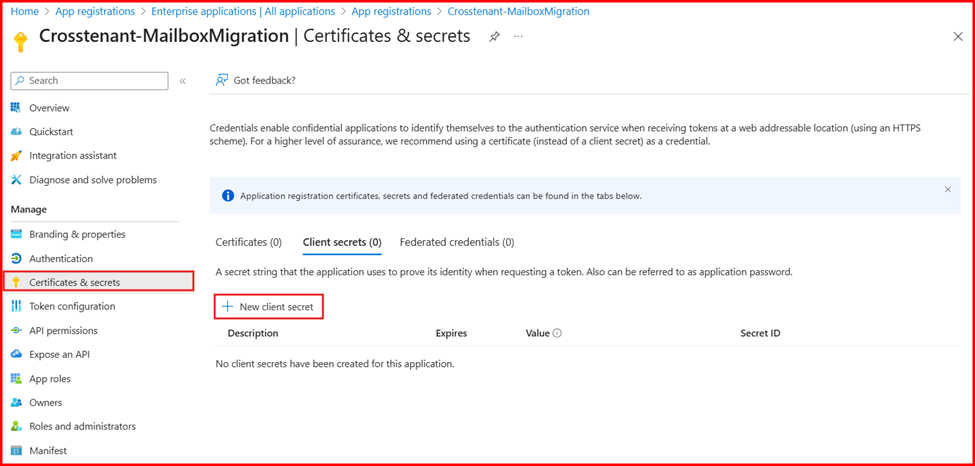
- Enter a description and choose the desired expiration period for the client secret. Make sure to copy the generated secret value immediately and store it securely in a password vault, as it will not be visible again later.
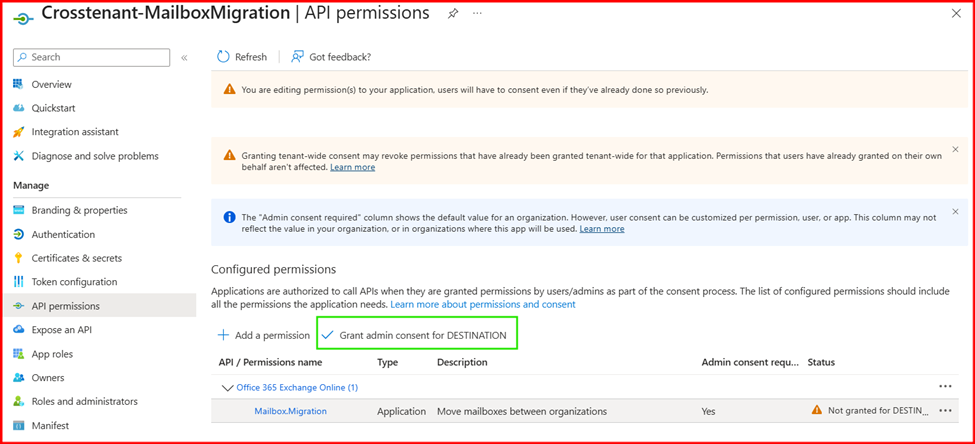
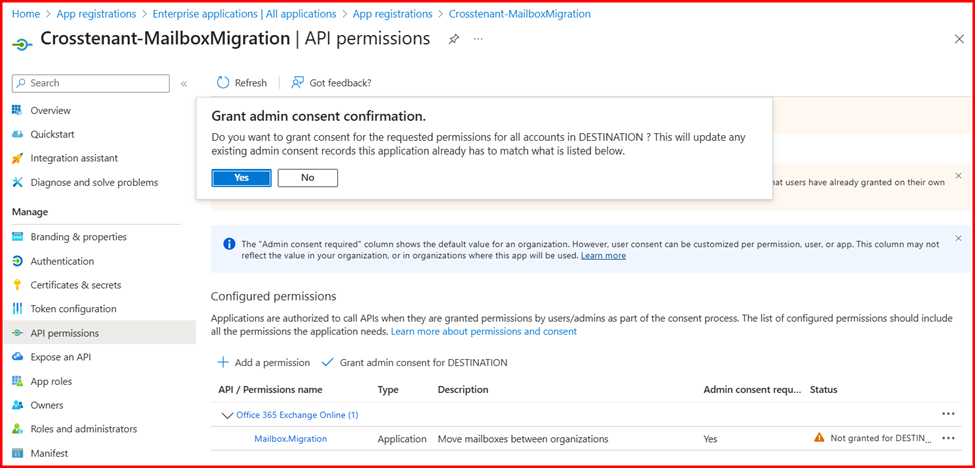
Step 3: Grant Consent to the Application
After creating the migration application and client secret, you must grant consent to the application. Follow these steps:
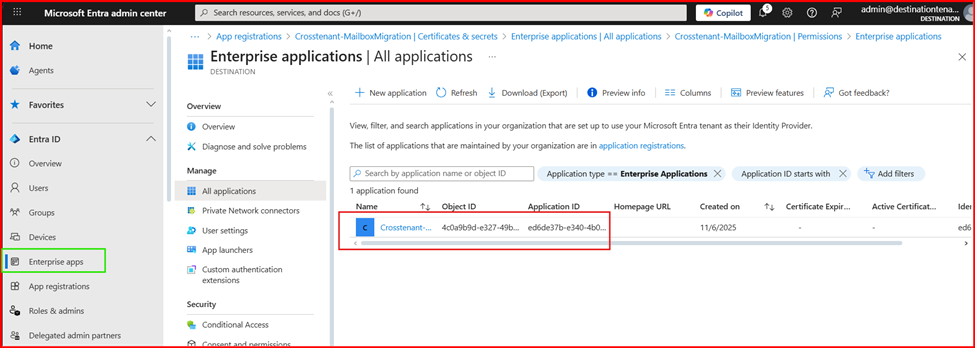
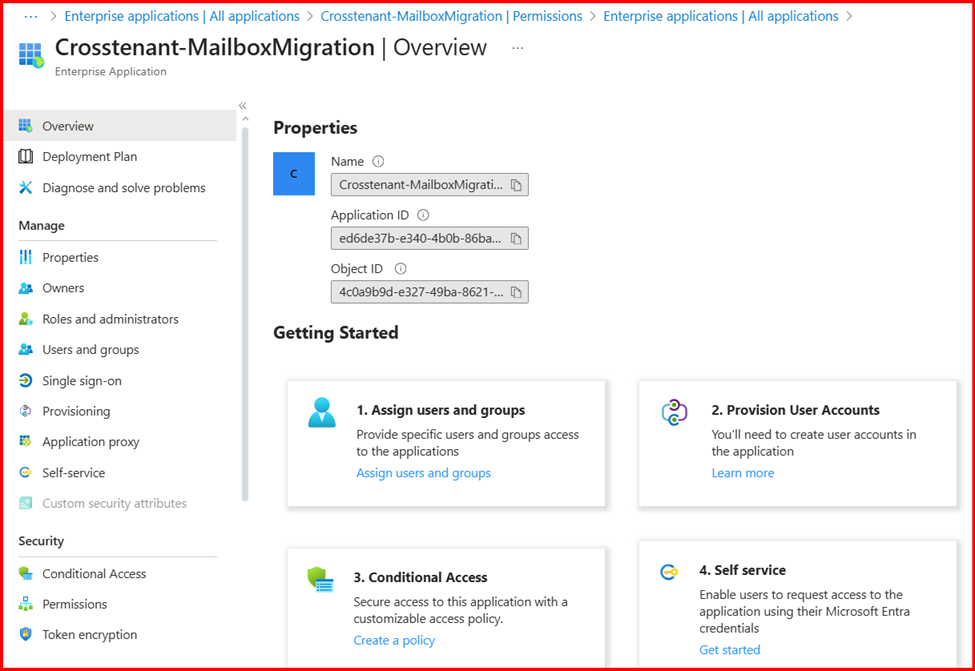
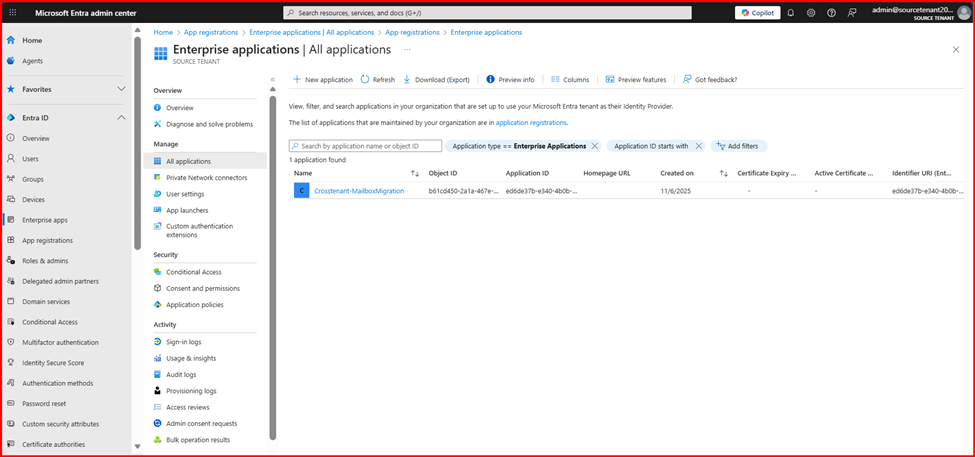
- On the Entra ID main page, go to Enterprise Applications and locate the application you created.
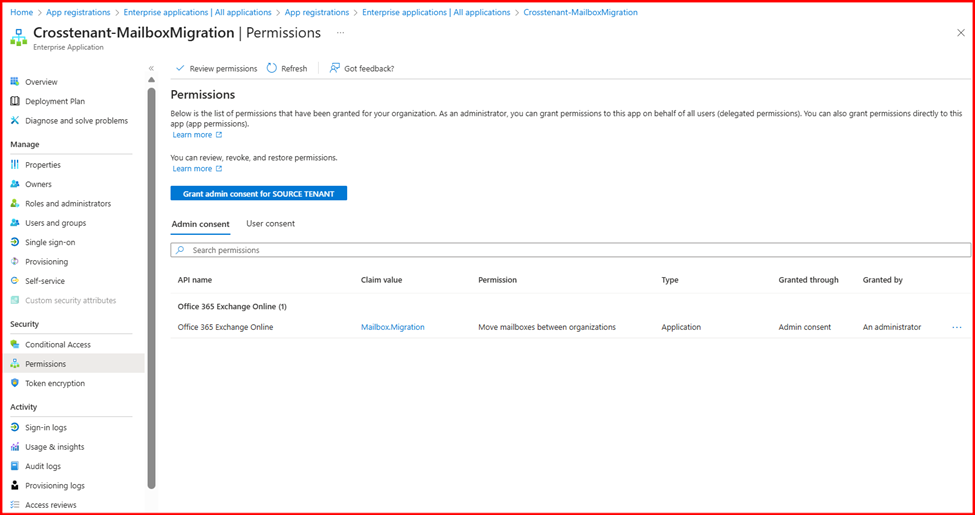
- Click on Permissions under the Security section.
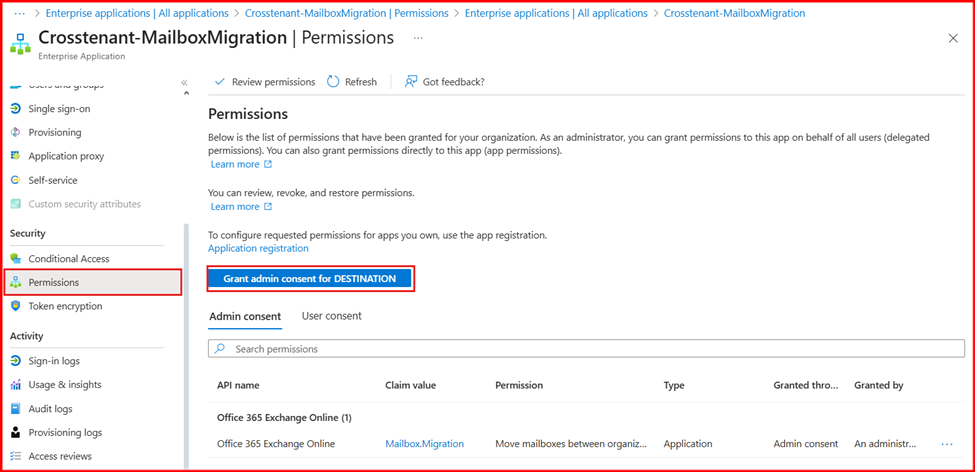
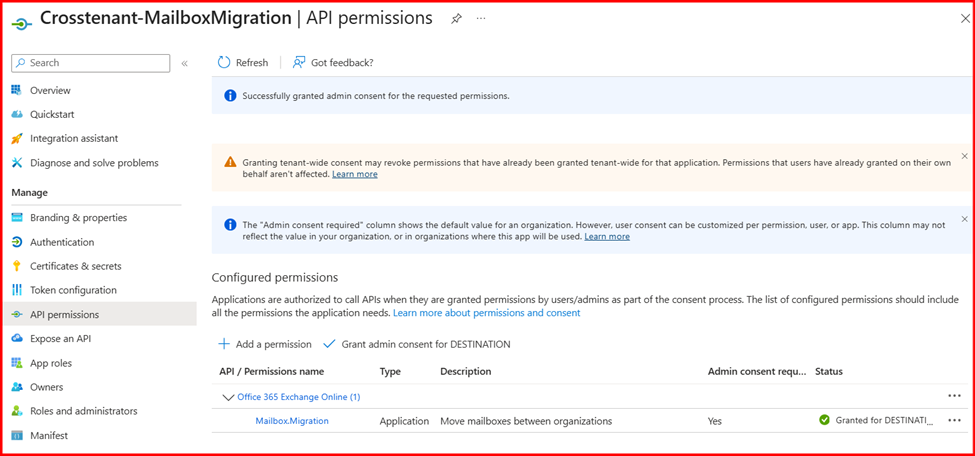
- Click on Grant admin consent for and click Accept.
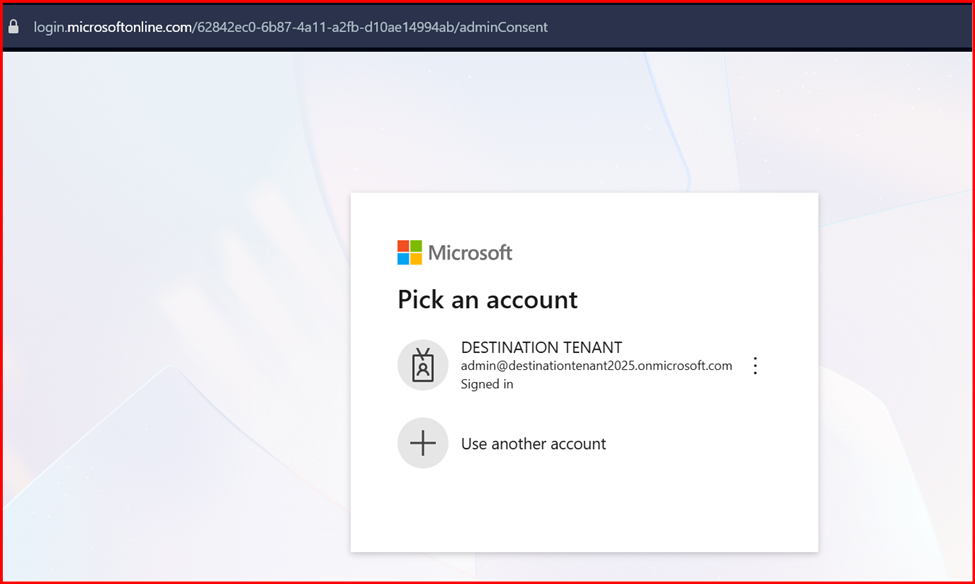

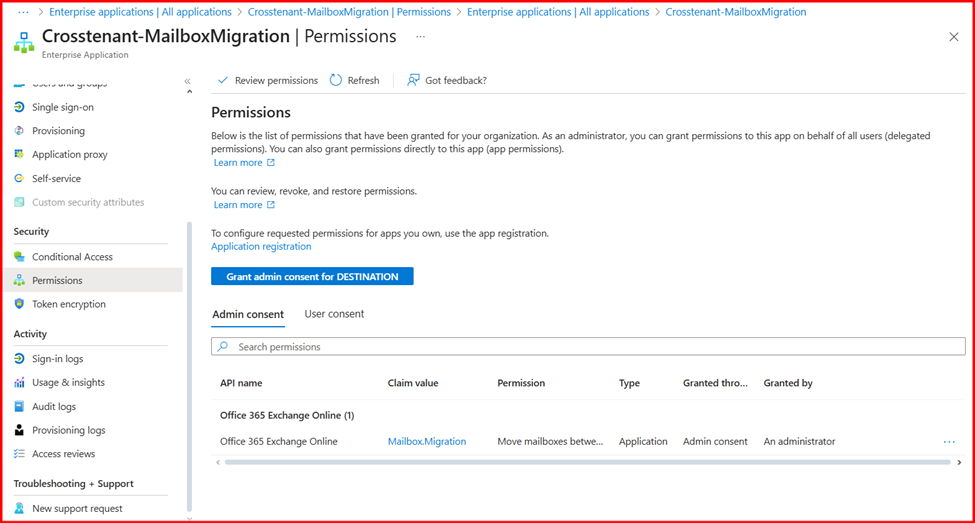
- Go back and verify that the consent has been accepted.
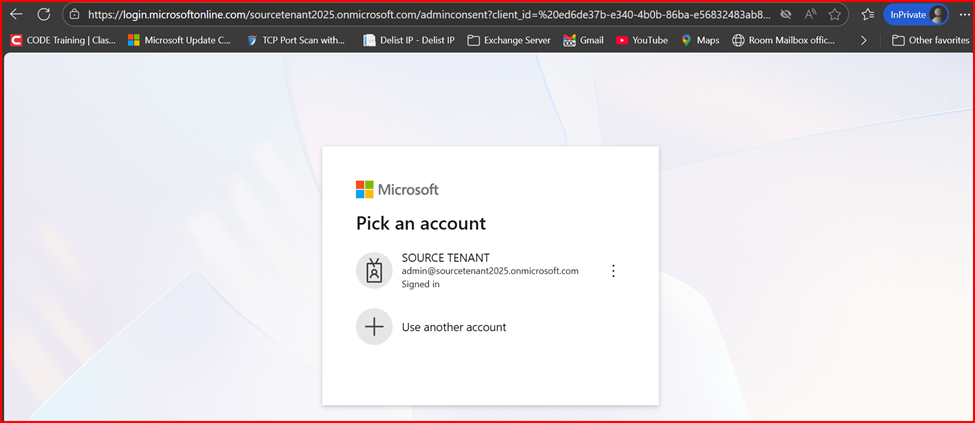
- To grant consent on the source tenant, use the following URL format:
https://login.microsoftonline.com//adminconsent?client_id=&redirect_uri=https://office.com
For example:
https://login.microsoftonline.com/sourcetenant2025.onmicrosoft.com/adminconsent?client_id=ed6de37b-e340-4b0b-86ba-e56832483ab8&redirect_uri=https://office.com
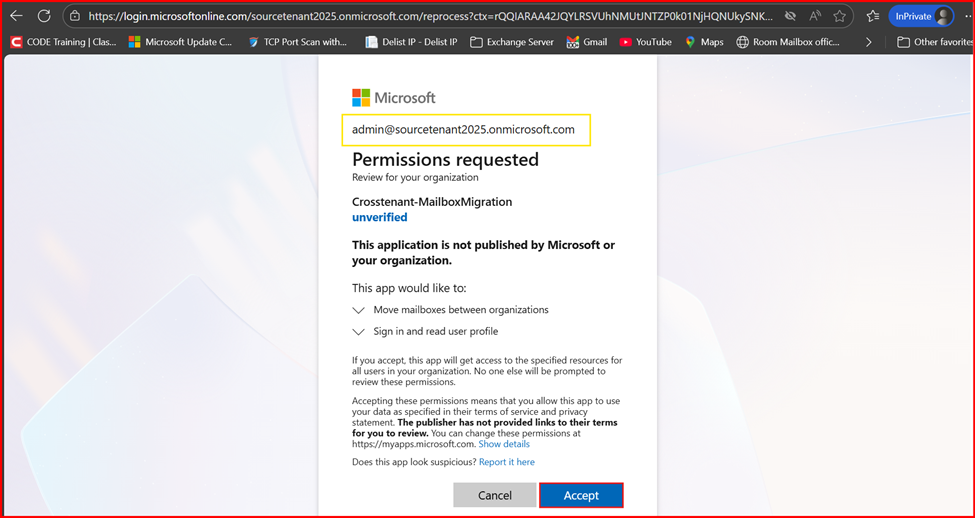
- Open the URL in a different browser or an incognito/private window, paste it, and sign in using the source tenant administrator credentials.
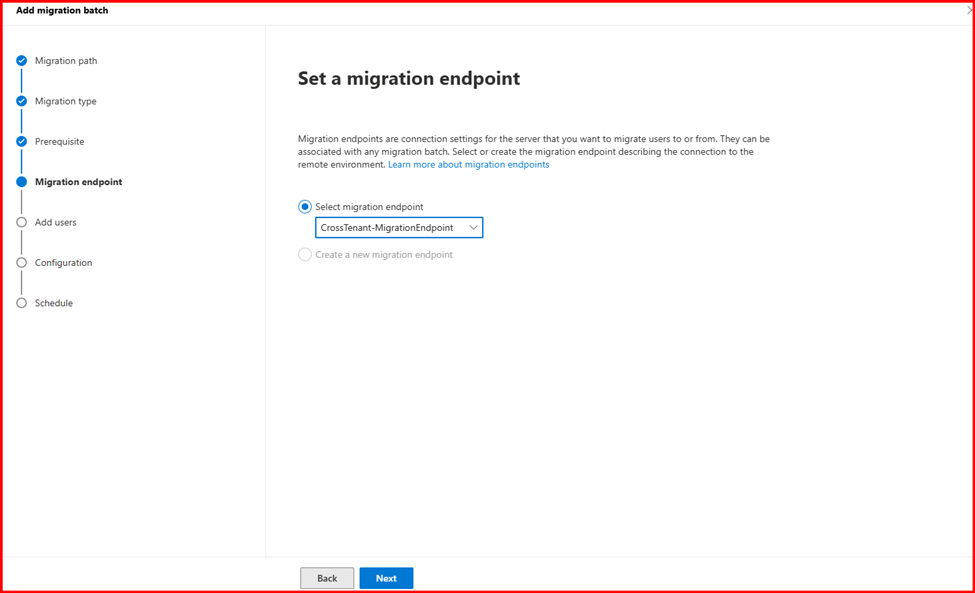
Step 4: Create the Relationship and Migration Endpoint
You now need to establish the organization relationship and create the Exchange Online migration endpoint.
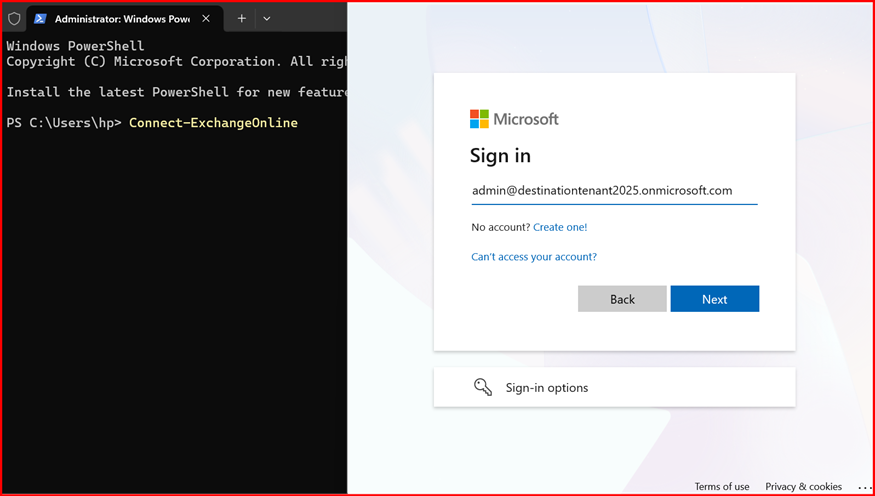
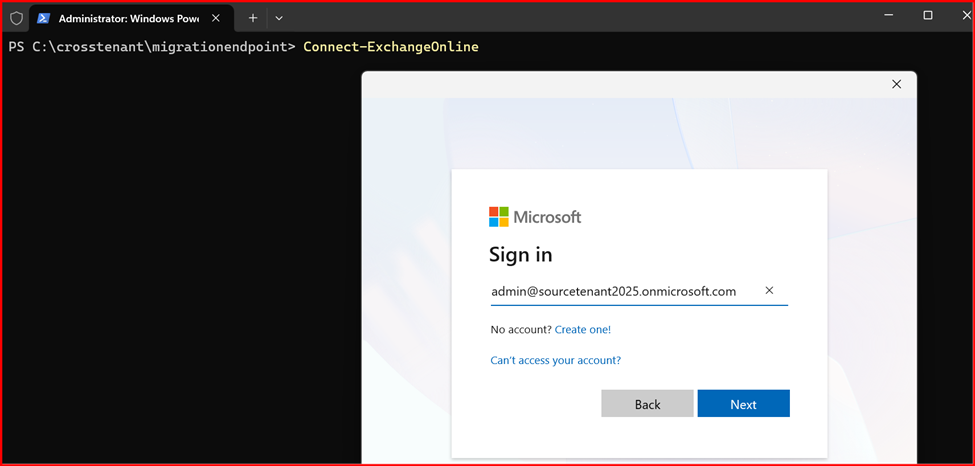
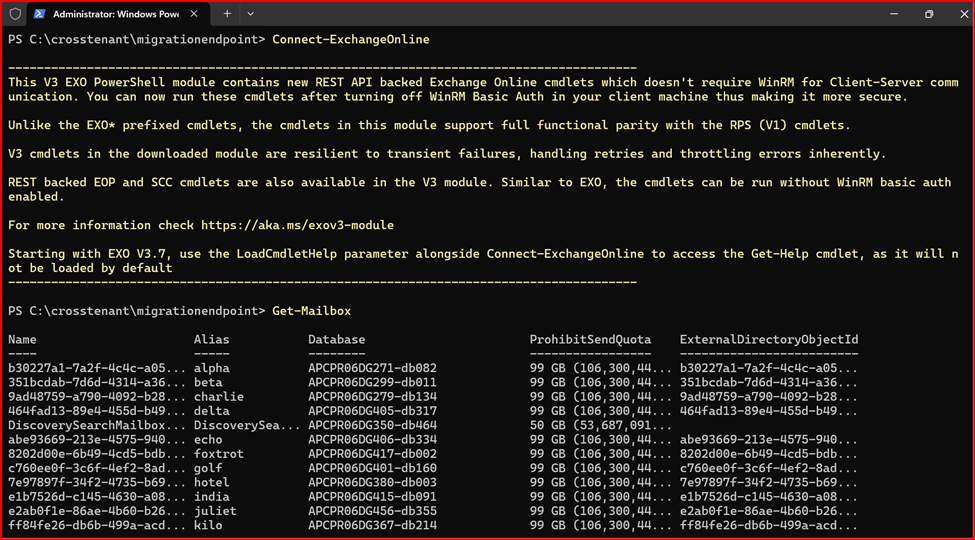
On the target Exchange Online tenant, connect using Exchange Online Power Shell to set up the migration endpoint.
Destination Tenant Information:
Tenant Name: destinationtenant2025.onmicrosoft.com
Tenant ID: 62842ec0-6b87-4a11-a2fb-d10ae14994ab
Client ID: ed6de37b-e340-4b0b-86ba-e56832483ab8
Secret ID: L~U8Q~W0-3vFnrtftlyv1GICeIuuDPZd7rvu_abF
Task1: Create a new migration endpoint for cross-tenant mailbox moves
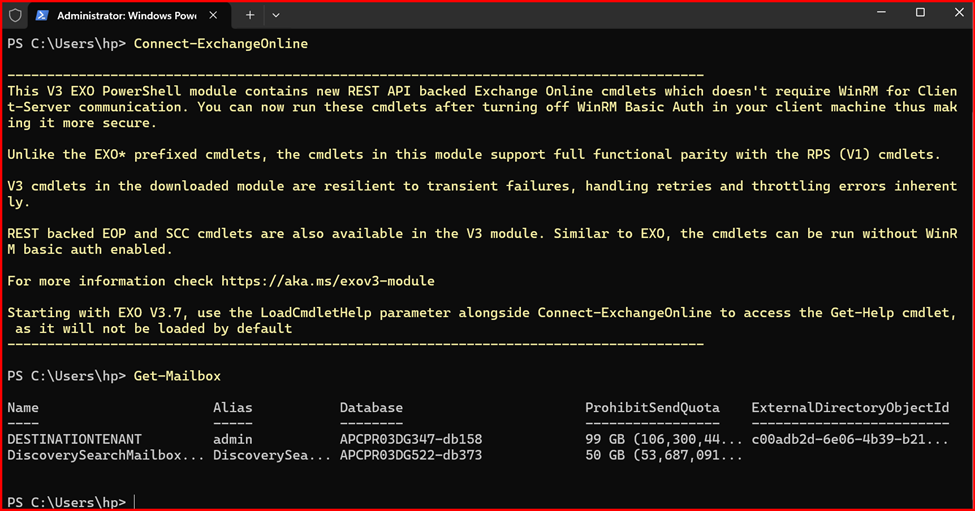
Connect-ExchangeOnline
# Enable customization if tenant is dehydrated
$dehydrated=Get-OrganizationConfig | fl isdehydrated
if ($dehydrated -eq $true) {Enable-OrganizationCustomization}
#App Client ID:
$AppId = “ed6de37b-e340-4b0b-86ba-e56832483ab8”
$Credential = New-Object -TypeName System.Management.Automation.PSCredential -ArgumentList $AppId, (ConvertTo-SecureString -String “L~U8Q~W0-3vFnrtftlyv1GICeIuuDPZd7rvu_abF” -AsPlainText -Force)
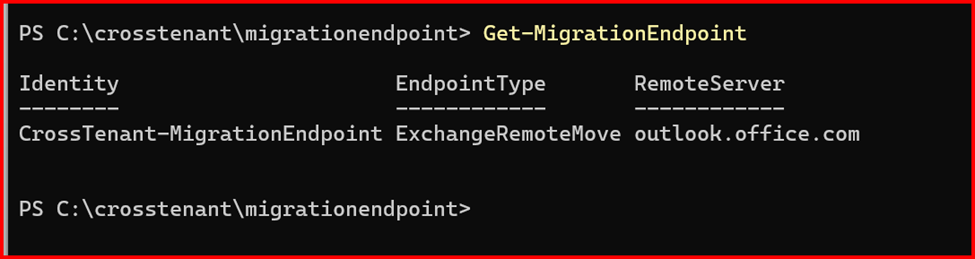
New-MigrationEndpoint -RemoteServer outlook.office.com -RemoteTenant “sourcetenant2025.onmicrosoft.com” -Credentials $Credential -ExchangeRemoteMove:$true -Name “CrossTenant-MigrationEndpoint” -ApplicationId $AppId
Note: Replace App ID with Client ID, String value with Secret ID Value and Remote Tenant with Source Tenant name.


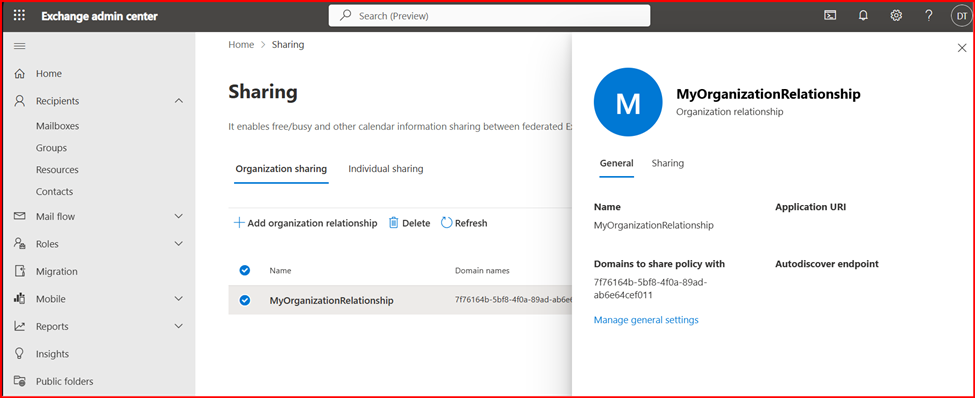
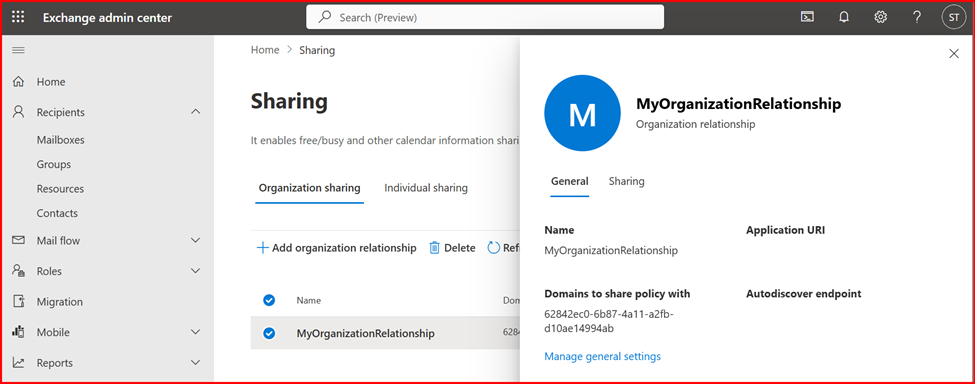
Next, you need to create a new organization relationship object by using the following script.
Task2: Create a new or edit your existing organizational relationship object to your source tenant.
Source tenant ID: 7f76164b-5bf8-4f0a-89ad-ab6e64cef011
$sourceTenantId=”7f76164b-5bf8-4f0a-89ad-ab6e64cef011″
$orgrels=Get-OrganizationRelationship
$existingOrgRel = $orgrels | ?{$_.DomainNames -like $sourceTenantId}
If ($null -ne $existingOrgRel)
{
Set-OrganizationRelationship $existingOrgRel.Name -Enabled:$true -MailboxMoveEnabled:$true -MailboxMoveCapability Inbound
}
If ($null -eq $existingOrgRel)
{
New-OrganizationRelationship “MyOrganizationRelationship” -Enabled:$true -MailboxMoveEnabled:$true -MailboxMoveCapability Inbound -DomainNames $sourceTenantId
First Run: Enable-OrganizationCustomization
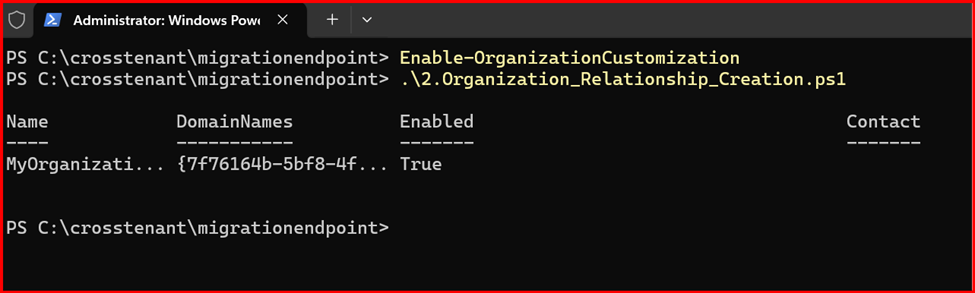
Get-OrganizationRelationship | fl name, DomainNames, MailboxMoveEnabled, MailboxMoveCapability

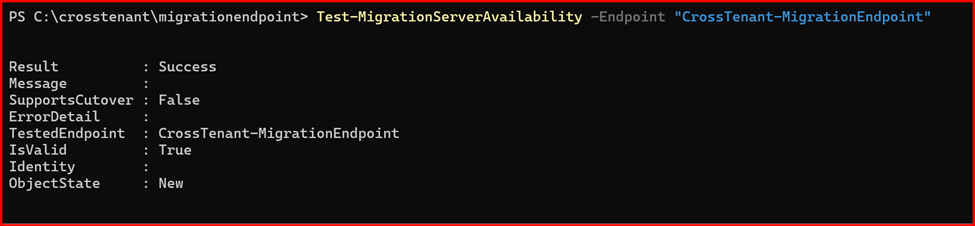
Test-MigrationServerAvailability -Endpoint “CrossTenant-MigrationEndpoint”
Task3: Prepare the Source Tenant
Now, you need to accept the migration application and configure the organization relationship to prepare the source tenant.
Connect Exchange Online Power Shell of Source Tenant:
Create new organization relationship object to your Source Tenant:
Enable-OrganizationCustomization

$targetTenantId=”62842ec0-6b87-4a11-a2fb-d10ae14994ab”
$appId=”ed6de37b-e340-4b0b-86ba-e56832483ab8″
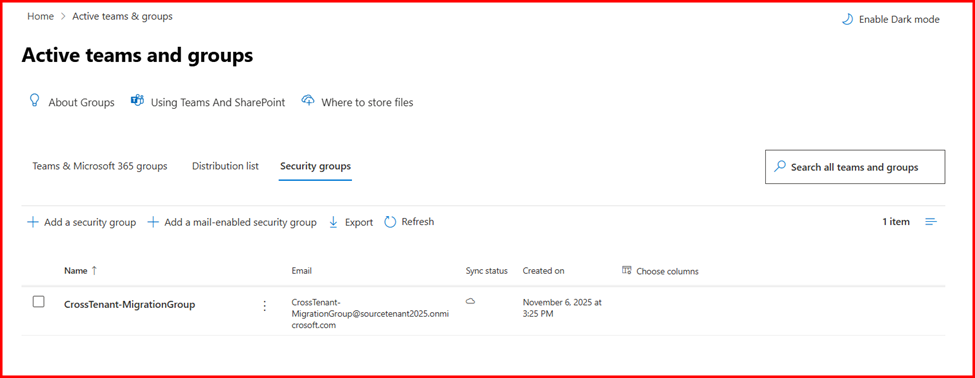
$scope=”CrossTenant-MigrationGroup”
New-DistributionGroup -Type Security -Name $scope
$orgrels=Get-OrganizationRelationship
$existingOrgRel = $orgrels | ?{$_.DomainNames -like $targetTenantId}
If ($null -ne $existingOrgRel)
{
Set-OrganizationRelationship $existingOrgRel.Name -Enabled:$true -MailboxMoveEnabled:$true -MailboxMoveCapability RemoteOutbound -OAuthApplicationId $appId -MailboxMovePublishedScopes $scope
}
If ($null -eq $existingOrgRel)
{
New-OrganizationRelationship “MyOrganizationRelationship” -Enabled:$true -MailboxMoveEnabled:$true -MailboxMoveCapability RemoteOutbound -DomainNames $targetTenantId -OAuthApplicationId $appId -MailboxMovePublishedScopes $scope
}
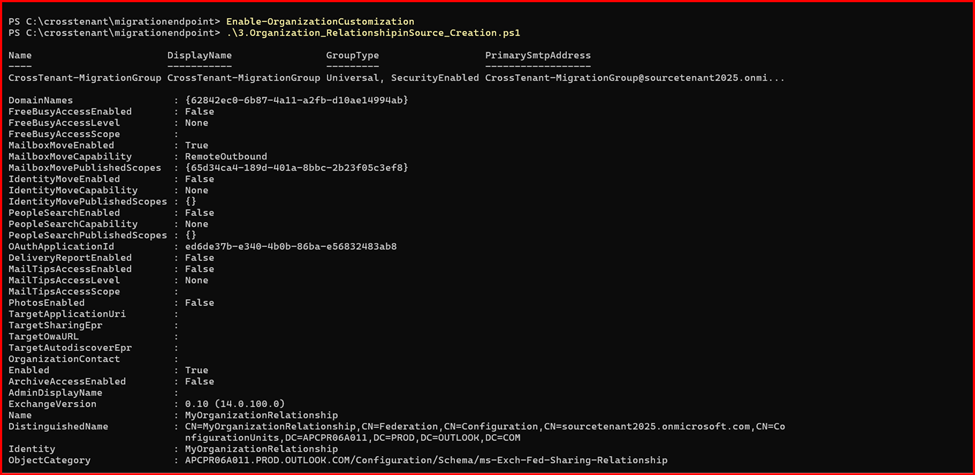
Get-OrganizationRelationship | fl name, DomainNames, MailboxMoveEnabled, MailboxMoveCapability

Note: Above script also create a Mail-Enabled Security Group
Step 5: Test the Migration Configuration
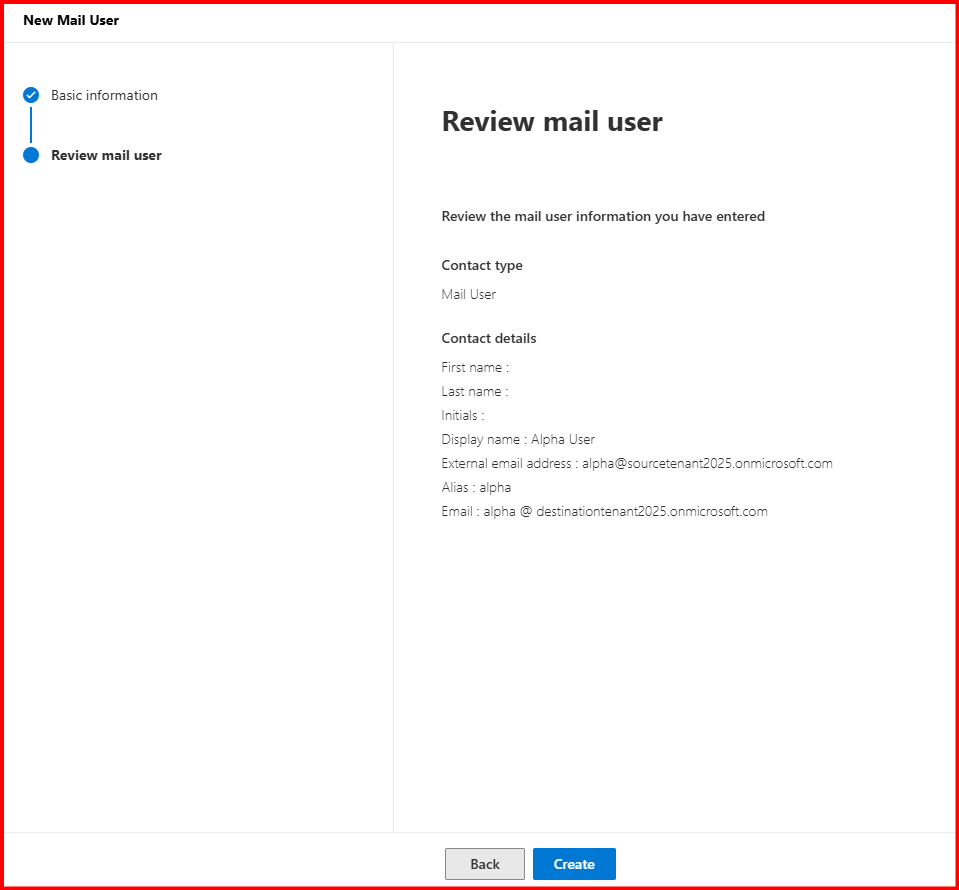
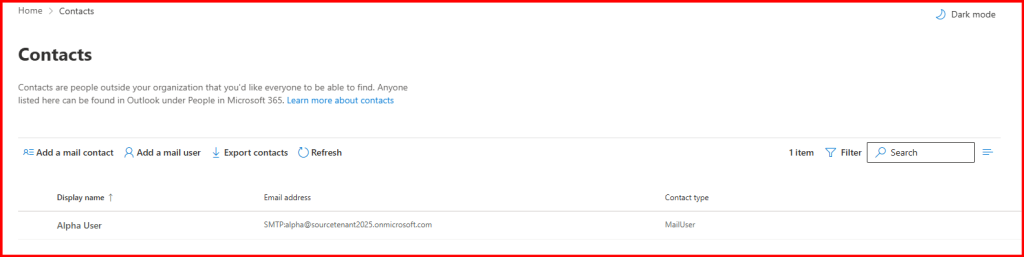
Task1: Create a Mail user in target tenant
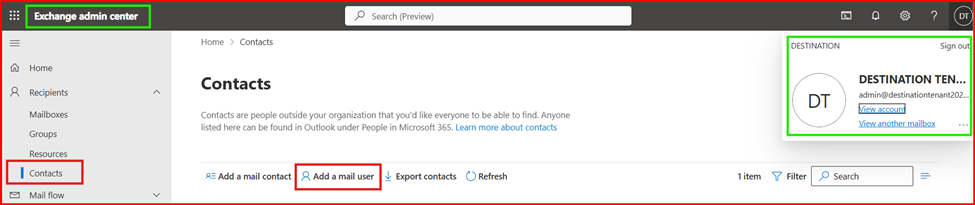
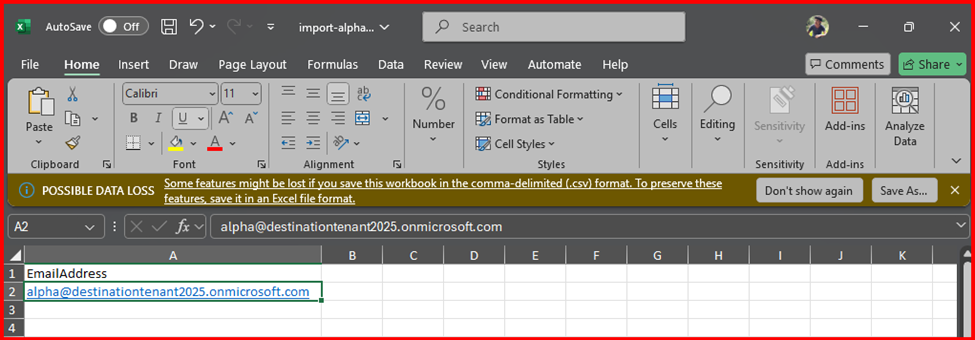
Ensure External Email Address is from Source Tenant Alias Address.


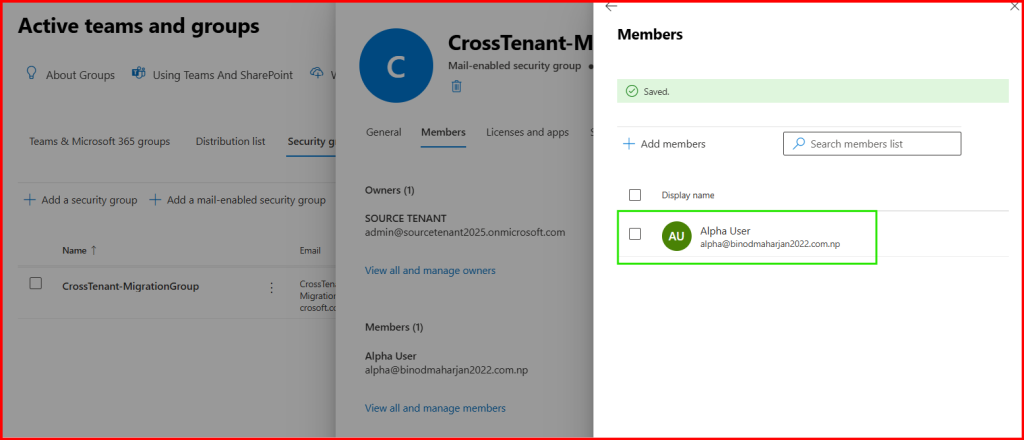
Task2: Add Migrating Mailbox in Mail-Enabled Security Group
This Group is created in Source Tenant so add member from Source Tenant Admin Portal.
Task3: Prepare Source and target tenant mailbox and user objects configuration
Step1: Gather Source Mailbox attribute information via Exchange Online Power Shell Command:
Get-Mailbox -Identity alpha | fl UserPrincipalName, ExchangeGUID, ArchiveGUID,PrimarySMTPAddress,EmailAddresses, LegacyExchangeDN
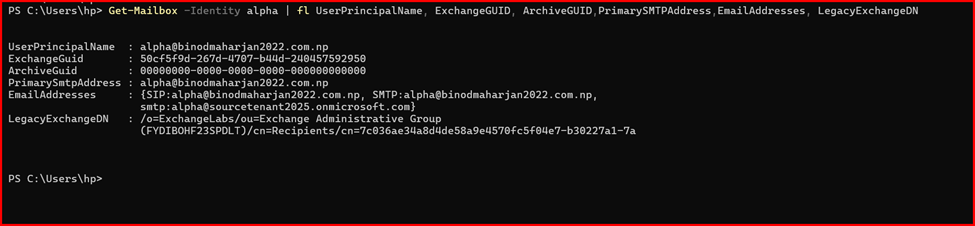
Note that For Migration we require to set configuration of ExchangeGUID, ArchiveGUID, LegacyExchangeDN value.
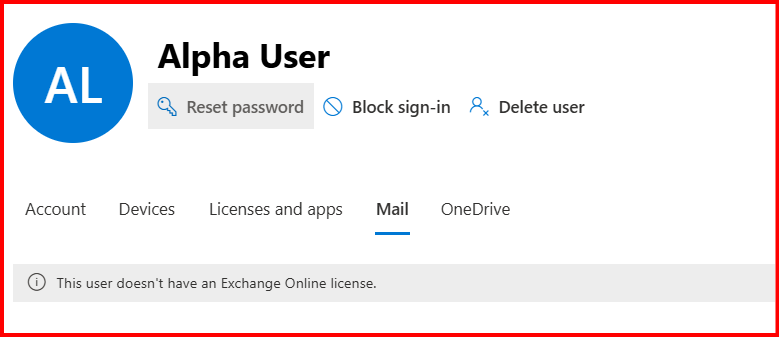
Step2: Connect Exchange Online Power Shell using Destination Tenant Credential.
Get-MailUser -Identity alpha | fl UserPrincipalName, ExchangeGUID

Note: ExchangeGUID is shown blanked.
For more value of attribute:
Get-MailUser -Identity alpha | fl UserPrincipalName, ExchangeGUID,EmailAddresses,LegacyExchangeDN

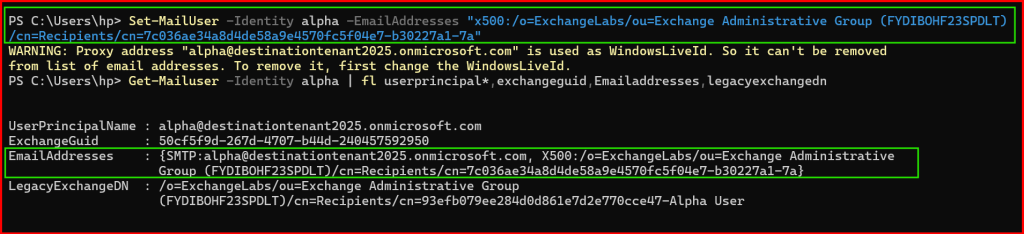
Step3: Set Configure the require Attribute to Mail User.
Copy paste the ExchangeGUID value from previously noted from Source Mailbox.
If require for Archive Mailbox, do the same for -ArchiveGuid value.
Set-MailUser -Identity alpha -ExchangeGuid 50cf5f9d-267d-4707-b44d-240457592950

Next, copy the LegacyExchangeDN value from Previously noted Source Mailbox, paste the value as it is in -EmailAddresses parameter then type “x500:” value in-front of it. Example shown below like:
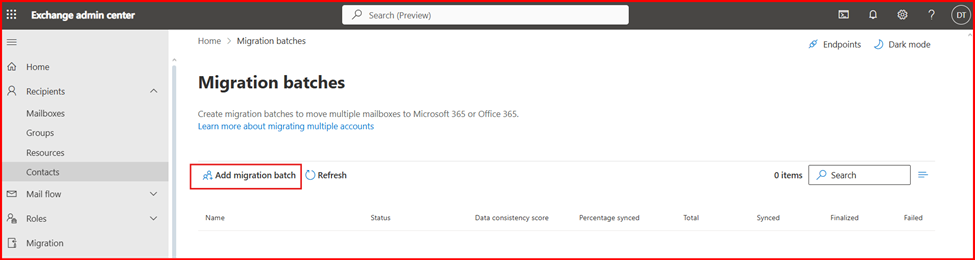
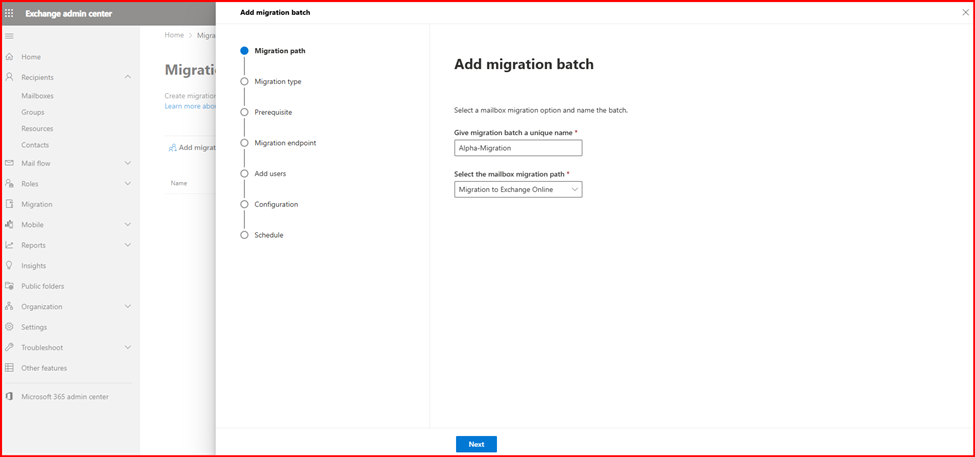
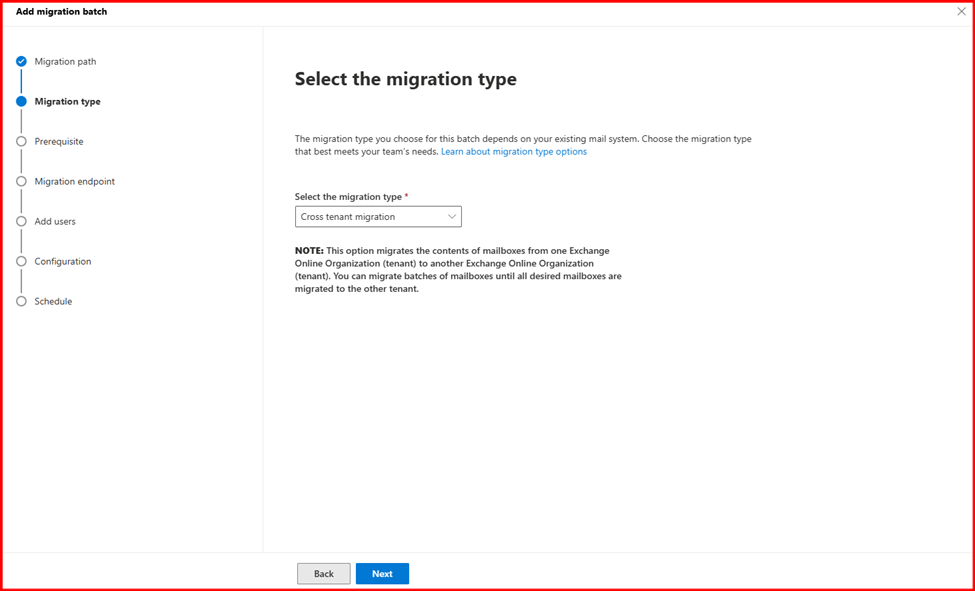
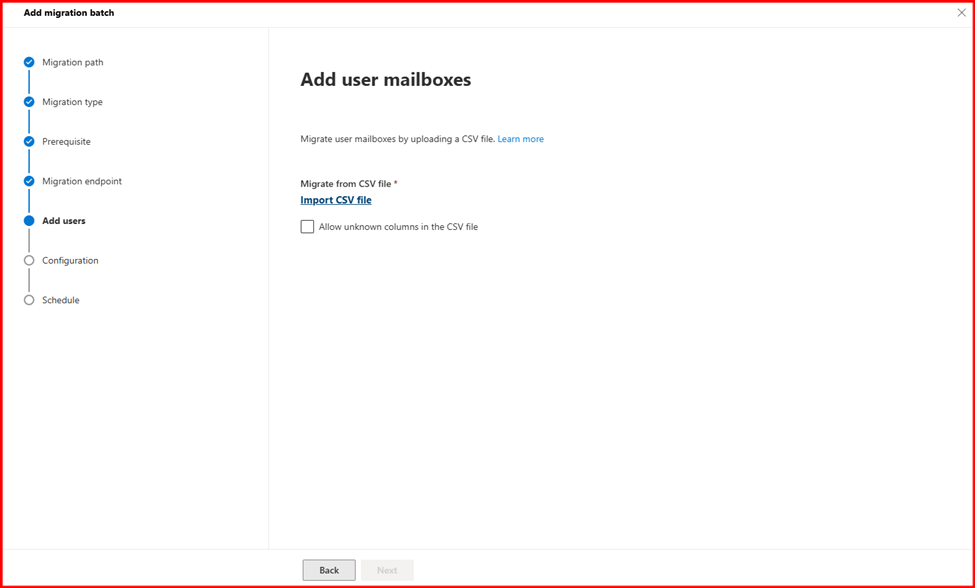
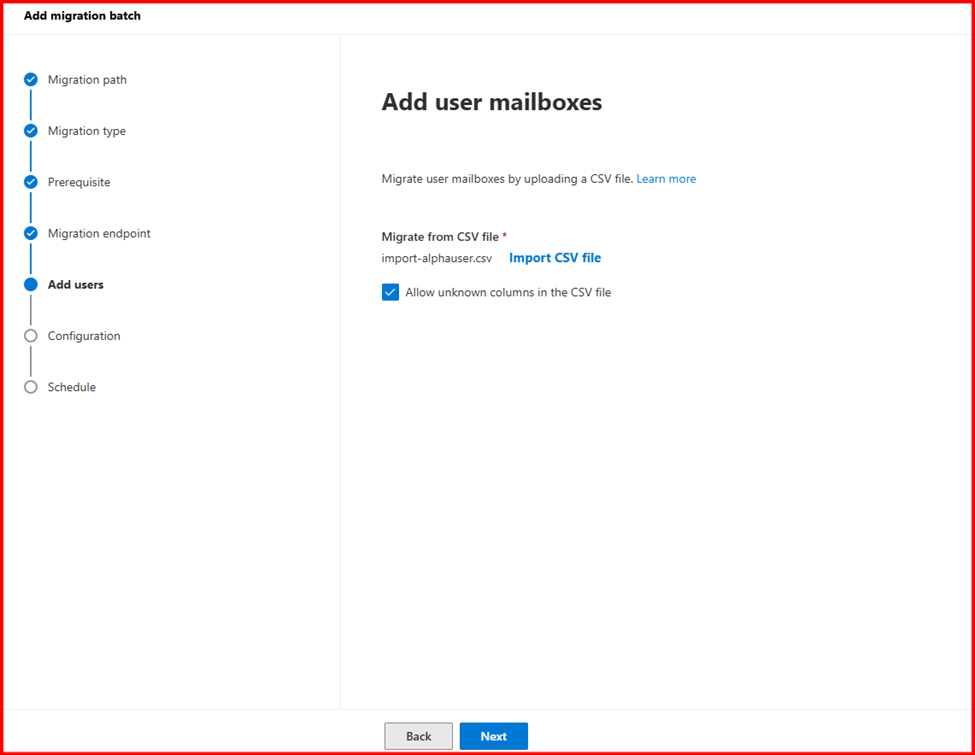
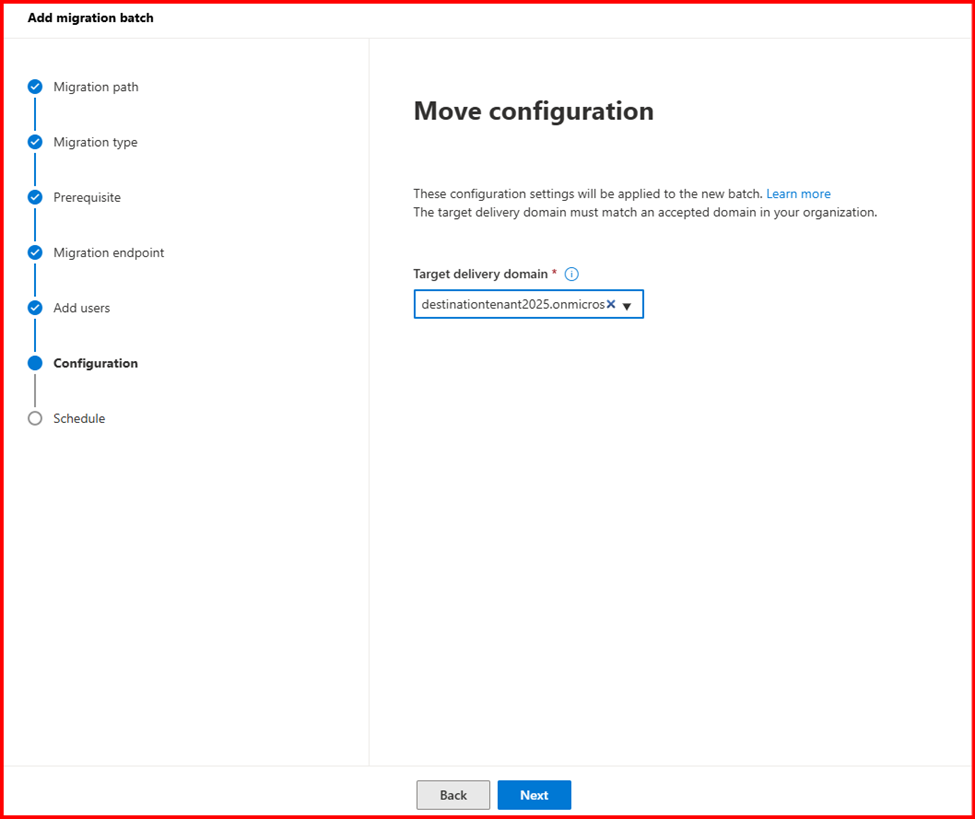
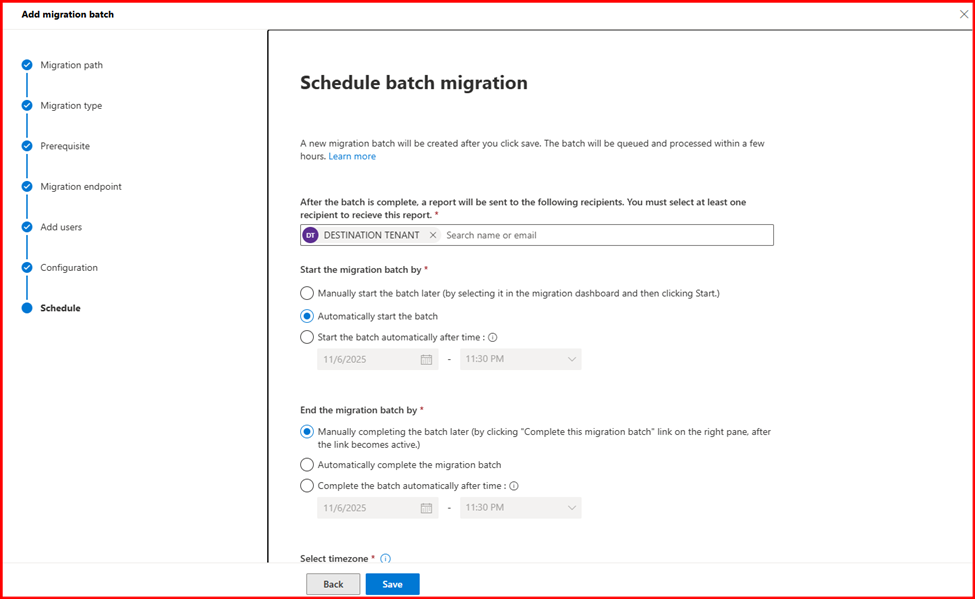
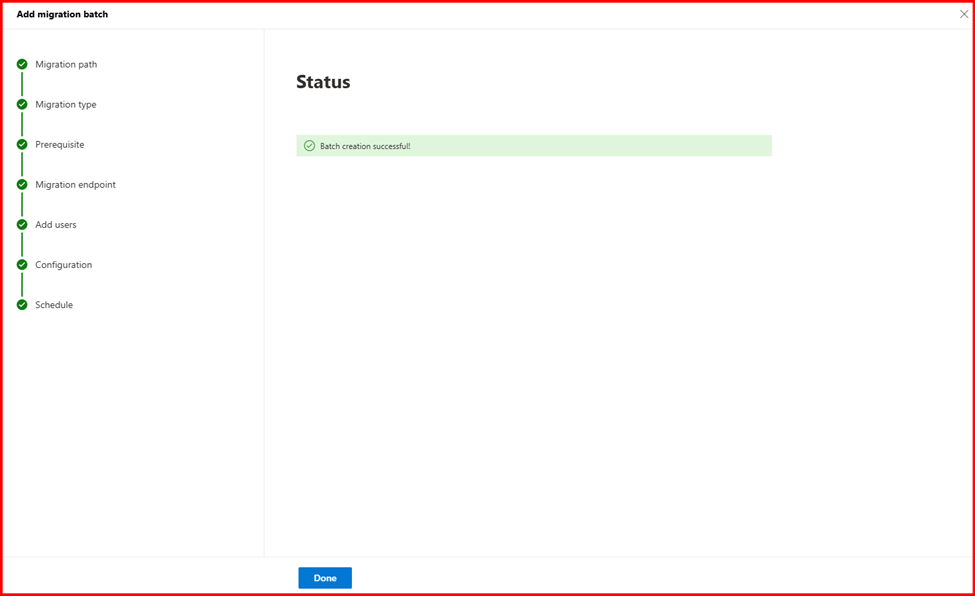
Step4: Start Migration
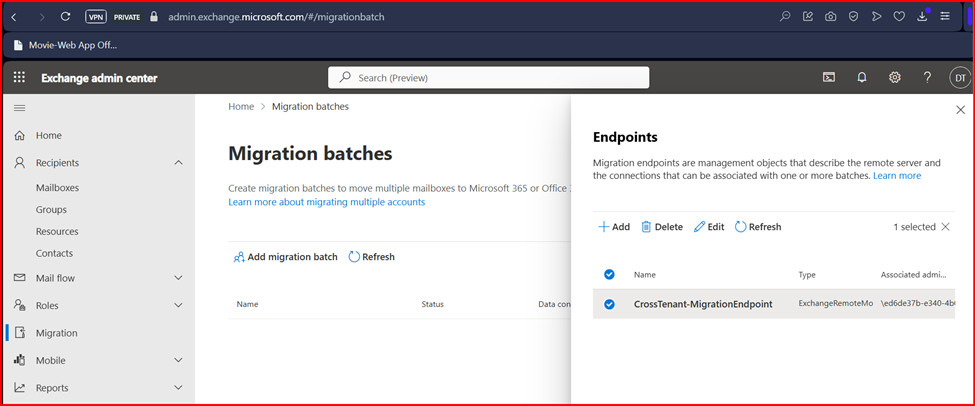
Login Destination Tenant Exchange admin Center to start migration.

Step5: Verify Mailbox migration status
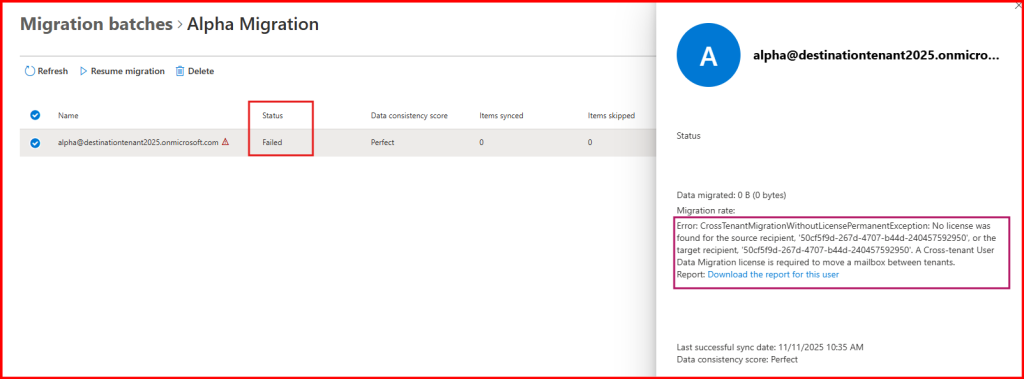
The mailbox migration failed due to a missing license.
As mentioned earlier in my blog, Cross-Tenant Mailbox Migration requires an appropriate license. The failure occurred because no license was assigned. Once you purchase and assign the Cross-tenant User Data Migration license, the migration process will proceed smoothly without any issues.
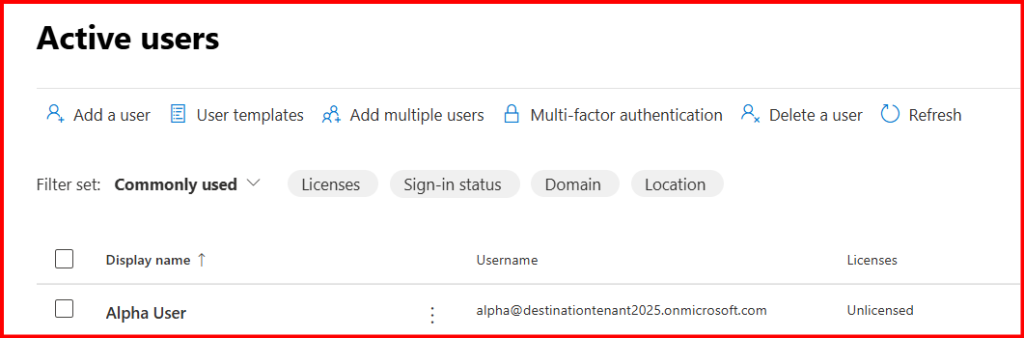
Step6: Quick Tips to Migrate a Mailbox Without a License
After completing the above configuration steps, I realized that mailbox migration requires a license. However, not every organization can afford to purchase a migration license. Based on various articles and my own testing, I found some helpful tips for migrating mailboxes without a license.
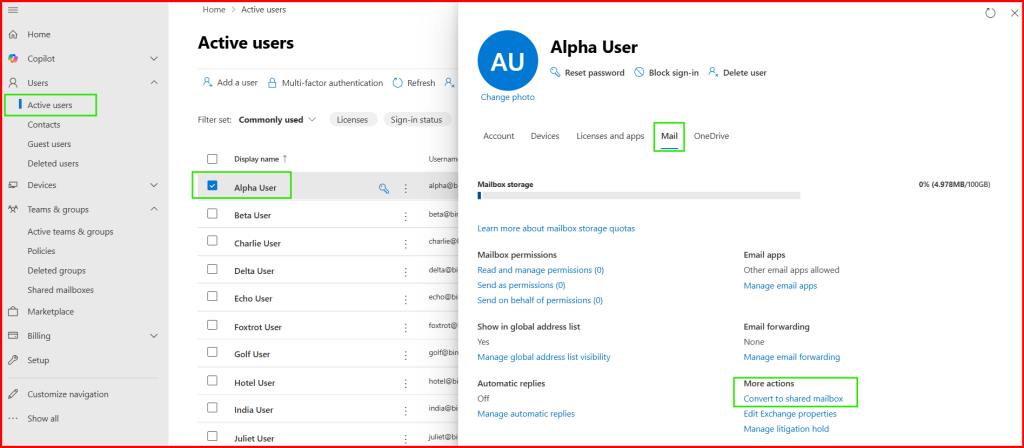
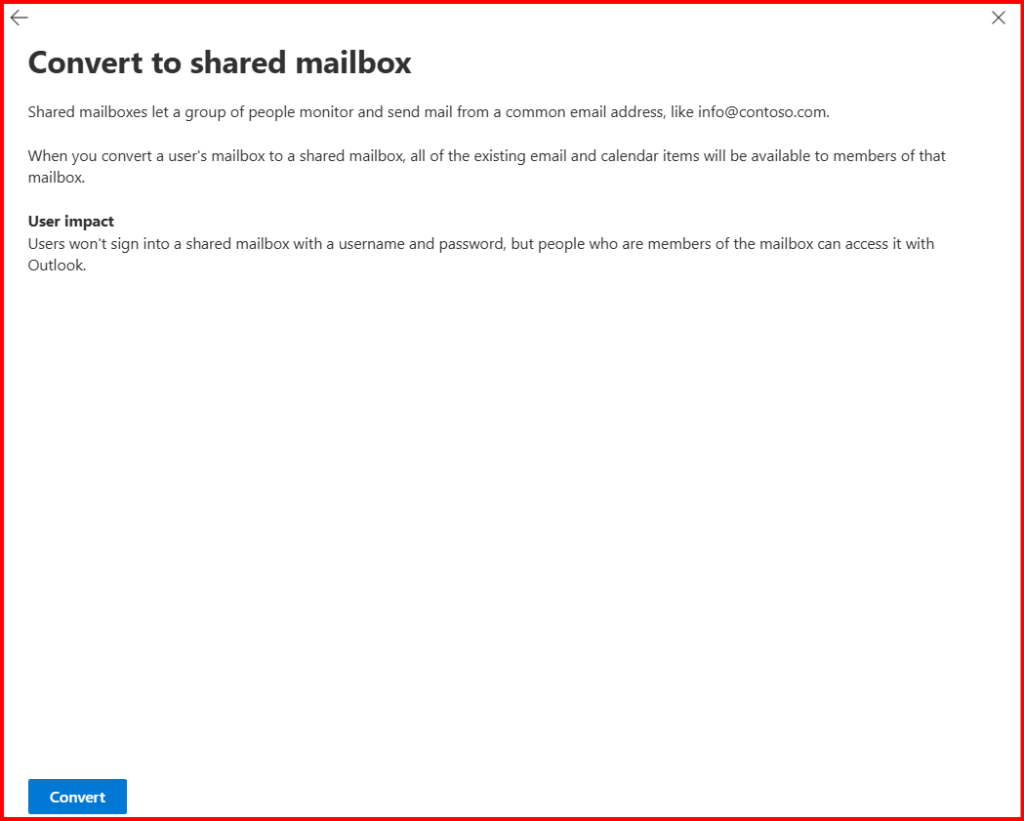
One effective approach is to convert the user mailbox into a Shared Mailbox and then perform the same migration steps as before. I tested this method with a few users and successfully completed the migration.
However, please note that there are certain limitations when using this approach.
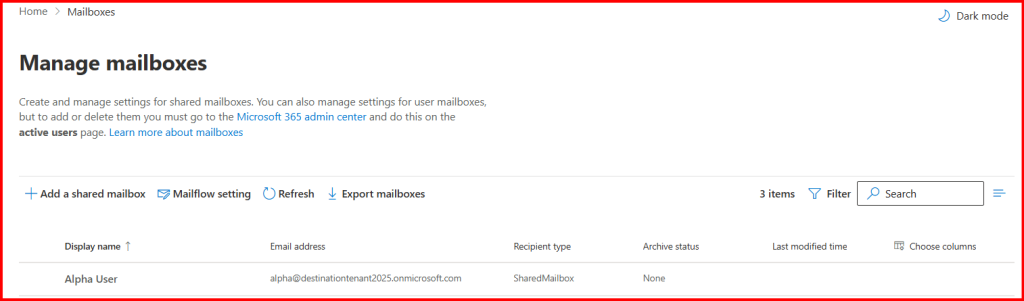
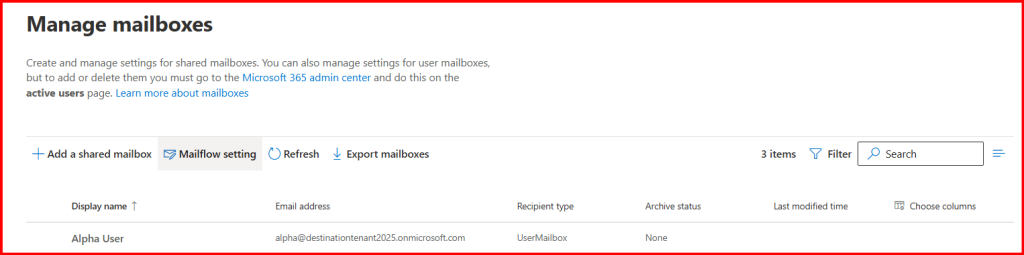
Step1: In source tenant, convert migrating user mailbox into shared mailbox.


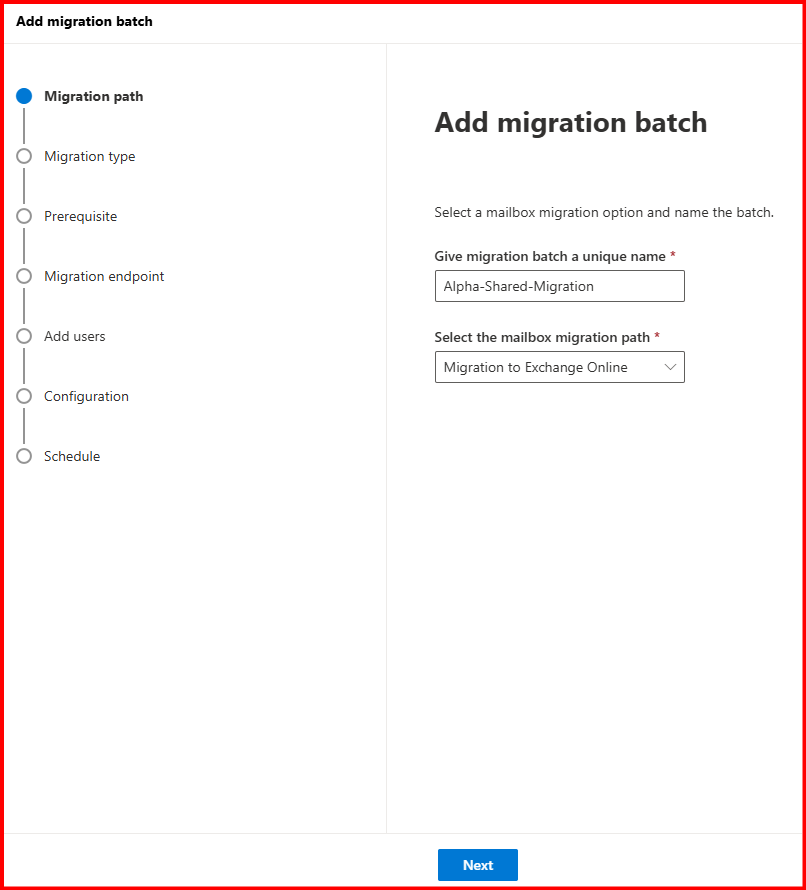
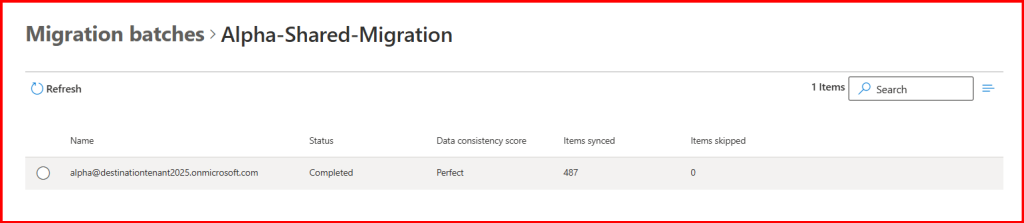
Step2: Start Shared Mailbox Migration.
Followed the same steps for migration as previously.
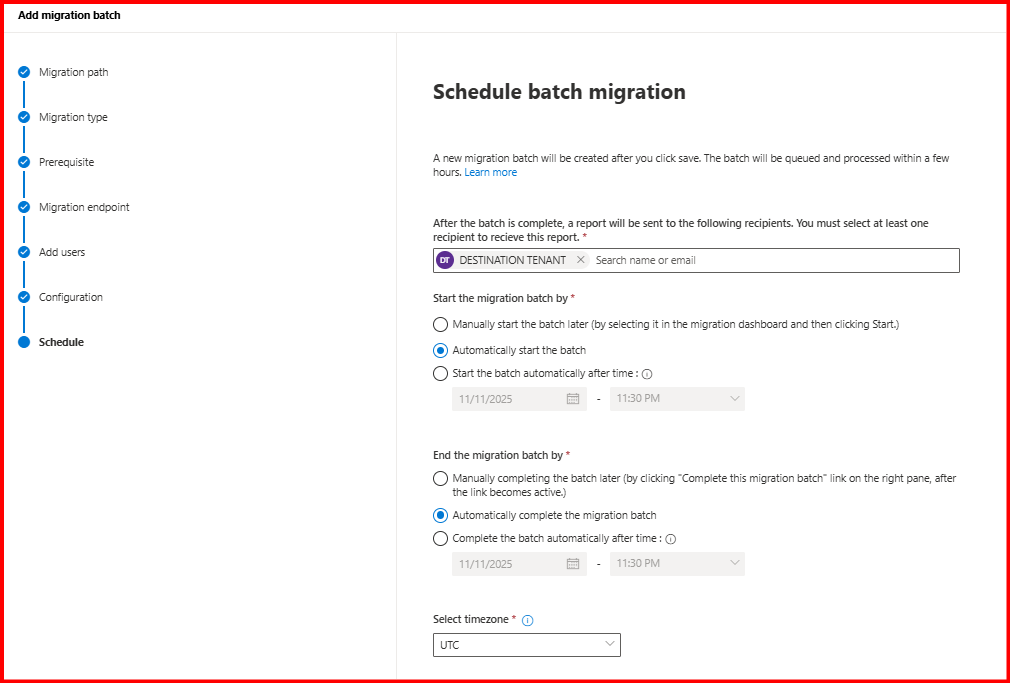
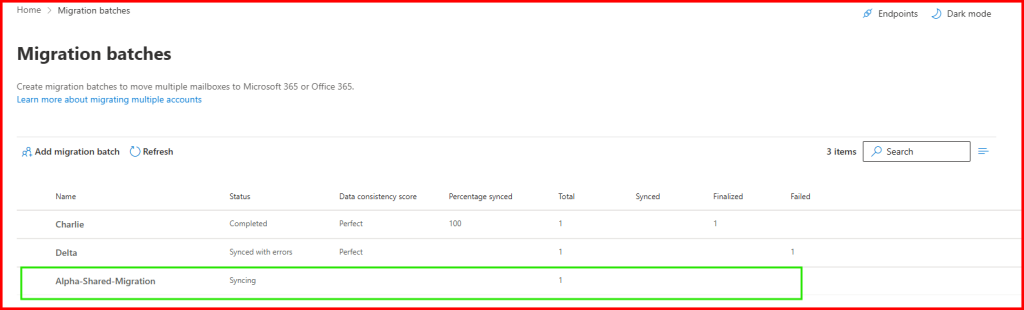
Let’s wait while migrating.
Let’s Understand the flow of migration:
Step1: I created Mail user in destination tenant.
Step2: I added migrating user in Mail-Enabled Security group.
Step3: I configured the source mailbox attribute like ExchangeGUID, LegacyExchangeDN etc. value to Destination Mail User attribute like ExchangeGUID, EmailAddresses etc.
Step4: Start Migration. (Note: I did SharedMailbox)

Step5: Check What happened?
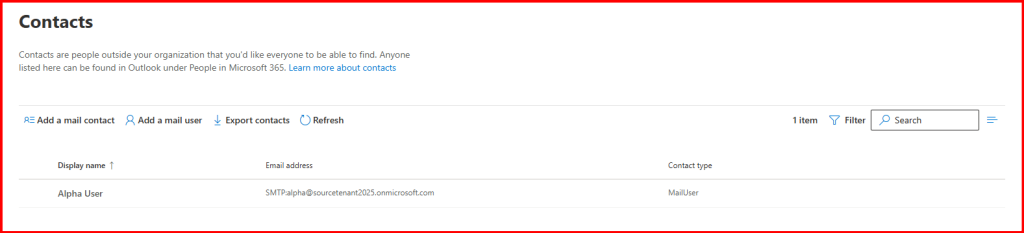
Mail User shown blanked in Destination Tenant.

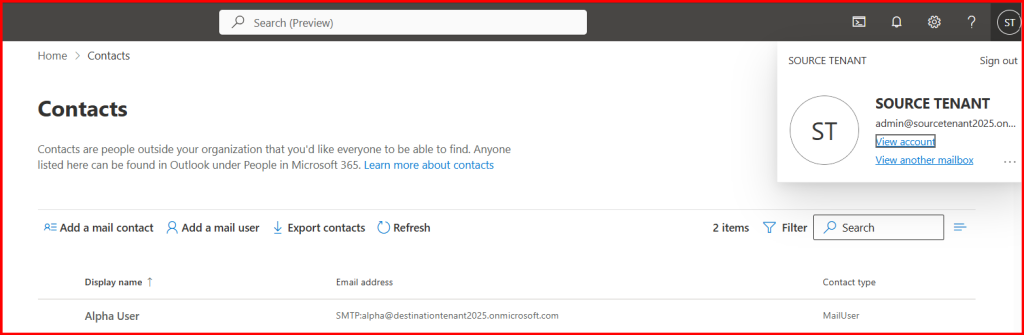
Where as in Source tenant, Mail user will be shown.
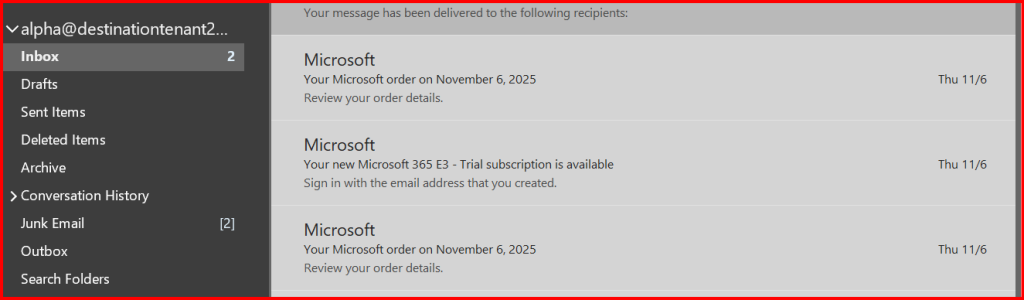
After successful migration completion, Mail user converted into Mailbox.
Done!
Now you can convert back to Mailbox from Shared-Mailbox and assign require License.


Done! Mailbox migration.
Step7: Configure Outlook Application
User requires to configure desktop outlook application profile again with new domain account.
Note: Optional, configure outlook application with their custom domain account instead of .onmicrosoft.com if available.
Conclusion
Successfully completing a Microsoft 365 Cross-Tenant Mailbox Migration requires thorough planning, precise configuration, and careful post-migration validation. From establishing trust between source and target tenants, preparing domains and identities, to configuring migration endpoints and verifying mailbox data, each step plays a critical role in ensuring a smooth transition.
By following Microsoft’s recommended approach—leveraging Power Shell, Exchange Online admin tools, and security permissions—you can achieve a seamless migration experience with minimal downtime and data integrity intact.
Ultimately, a well-executed cross-tenant mailbox migration not only consolidates resources efficiently but also strengthens organizational collaboration and tenant management. Continuous monitoring, user communication, and cleanup of legacy configurations are essential for maintaining long-term operational stability in the new environment.
Leave a Reply