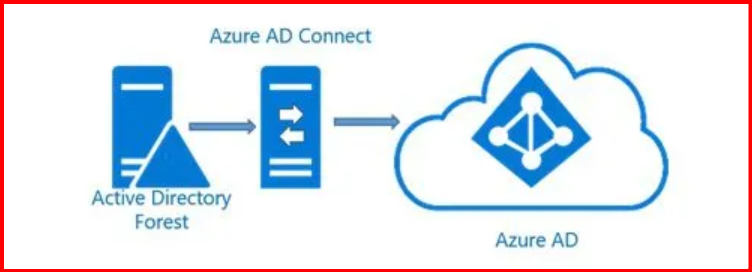
Your First Hybrid Identity Setup
Once you understand what Azure AD Connect is and have checked all prerequisites, the next step is to install it. This beginner-friendly guide walks you through the entire installation process, from downloading the tool to verifying your first sync.
Let’s begin!
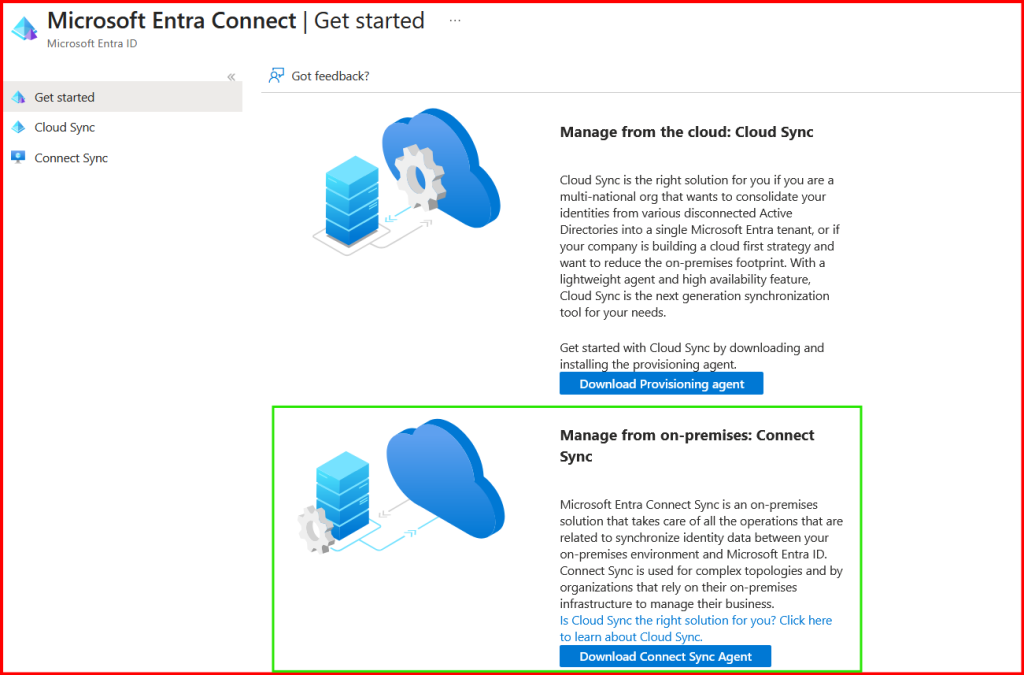
🔷 Step 1: Download Azure AD Connect
You can download the latest version from Microsoft Entra Admin Center portal:
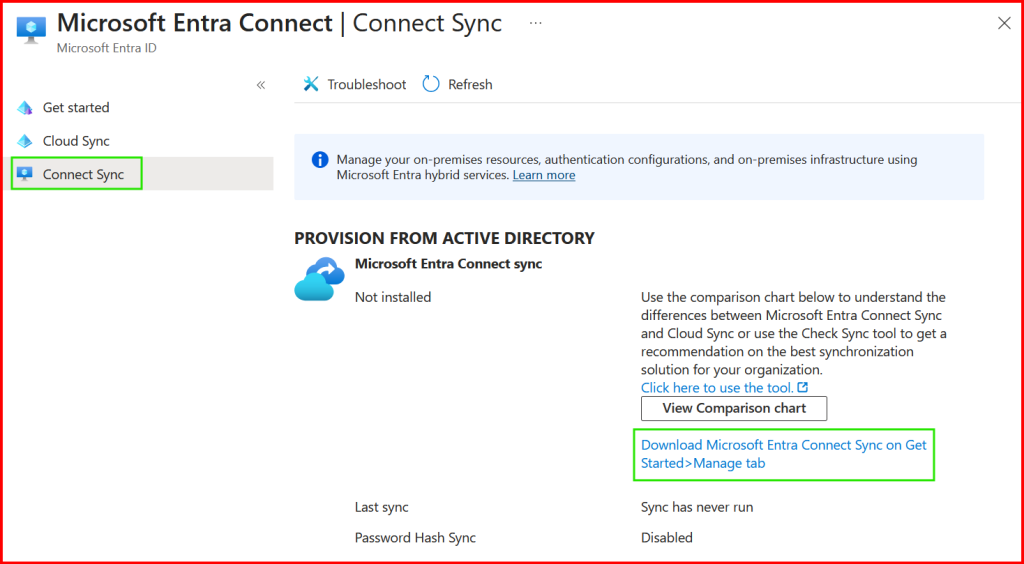
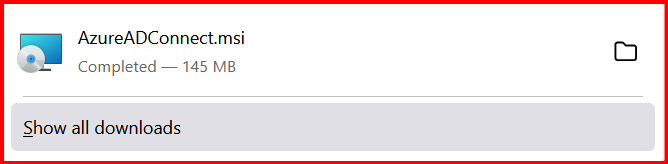
You will get a file named:
AzureADConnect.msi
Save it on the server where you plan to install Azure AD Connect.
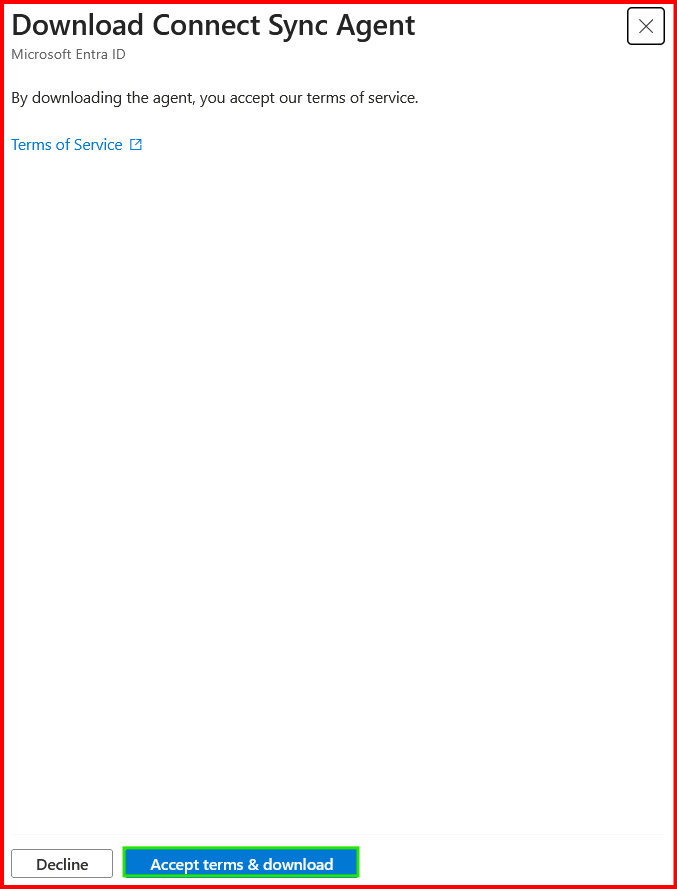
🔷 Step 2: Run the Azure AD Connect Installer
Double-click the installer file.
You will see:
- A welcome screen
- License agreement
Tick “I agree” and click Continue.

🔷 Step 3: Choose the Installation Type
Azure AD Connect gives two options:
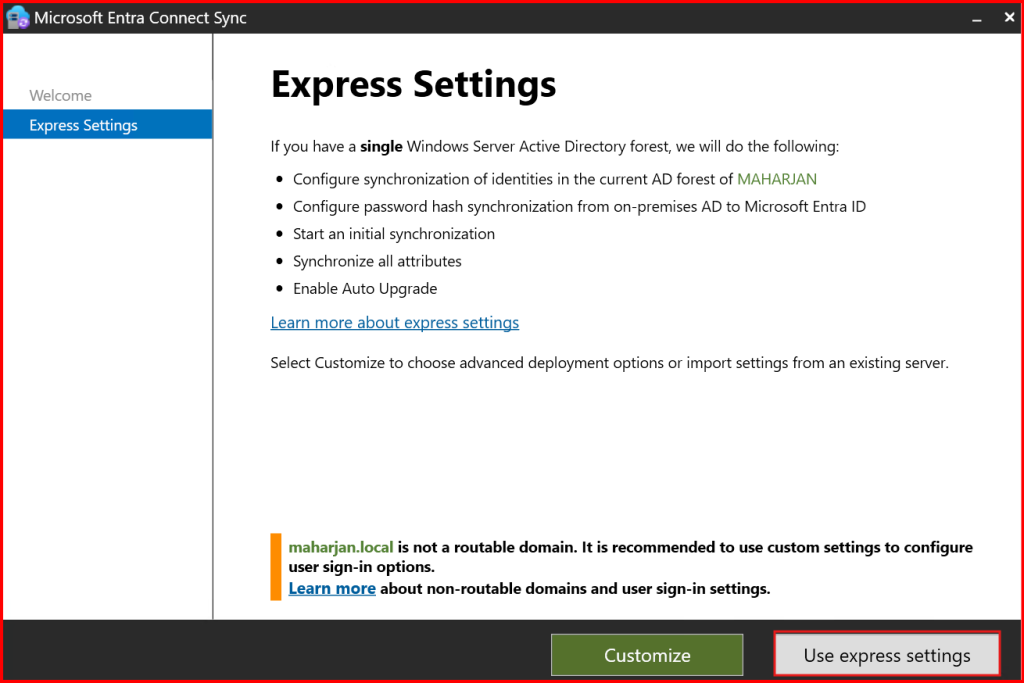
✔ Option 1: Express Installation (Recommended for Beginners)
This sets up:
- Password Hash Synchronization
- Single forest synchronization
- All OUs included
- Default sync settings
Select Use Express Settings.
Use this option if you have one AD forest and want a quick setup.
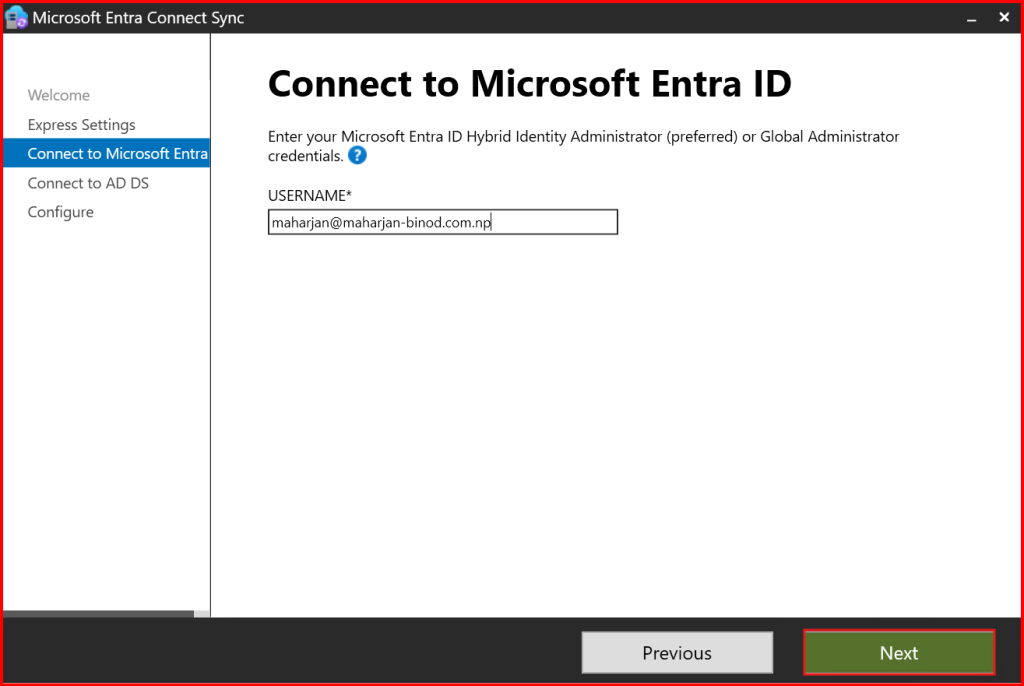
🔷 Step 4: Connect to Azure AD
You will now be asked to enter your Azure AD tenant credentials:
- Username: Azure Global Administrator
- Password: Global Admin password
This authorizes the setup to create sync configuration in Azure.
Note: After installation, you can safely remove Global Admin rights for better security.
🔷 Step 5: Connect to On-Premises Active Directory
Now Azure AD Connect asks for on-prem AD credentials:
- Username: Domain Admin
- Password: Domain Admin password
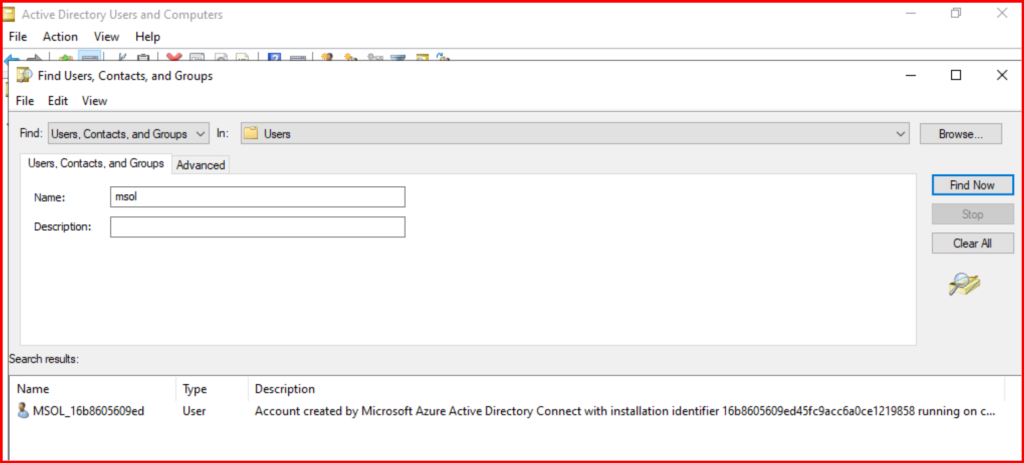
Azure AD Connect will create a special sync account (called MSOL_xxxxxx) automatically.

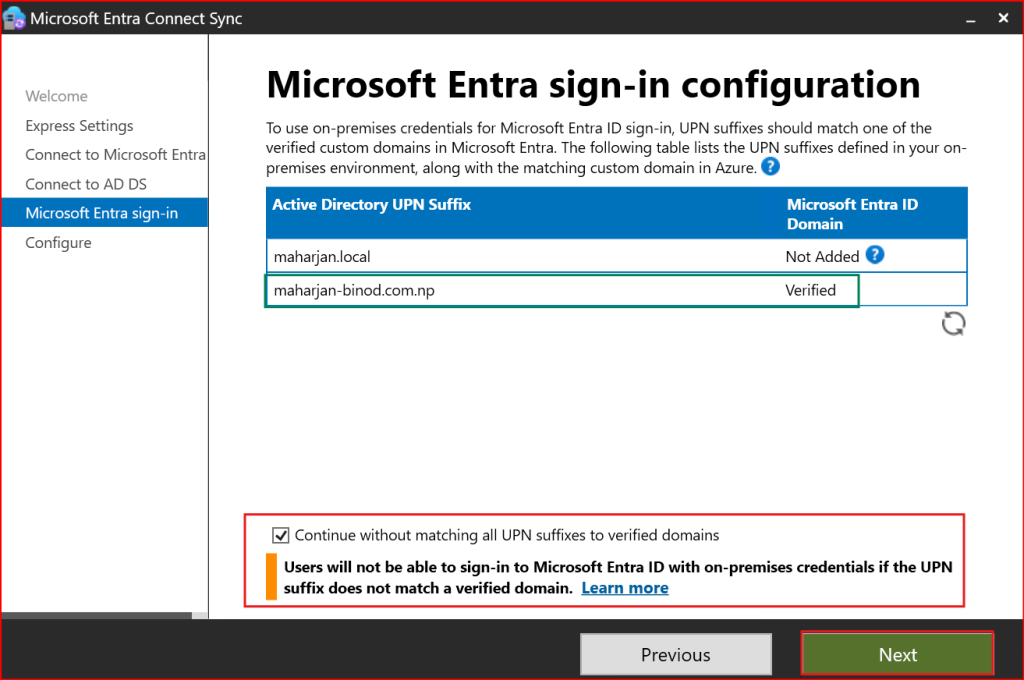
🔷 Step 6: Verify UPN Settings
Azure AD Connect detects your AD UPN domain (example: maharjan-binod.com.np).
If your AD uses a non-routable domain like:
maharjan.local
maharjan-binod.com.np
You must ensure a valid UPN suffix exists (from prerequisites).
This ensures users can sign in with the correct cloud identity.
🔷 Step 7: Configure User Sign-In Method (Beginners: Keep Default)
By default, Express Setup enables:
✔ Password Hash Synchronization (Recommended)
You will see checkboxes for:
- Password Hash Sync
- Seamless Single Sign-On (optional)
- PTA (not enabled by default)
Keep Password Hash Sync selected.
🔷 Step 8: Optional – Enable Seamless SSO
You will get the option:
✔ Enable Seamless Single Sign-On
This allows domain-joined users inside your network to sign in automatically.
Recommended if:
- You use Windows domain-joined PCs
- Users log in regularly from on-prem locations
If you are unsure → You can skip it for now.
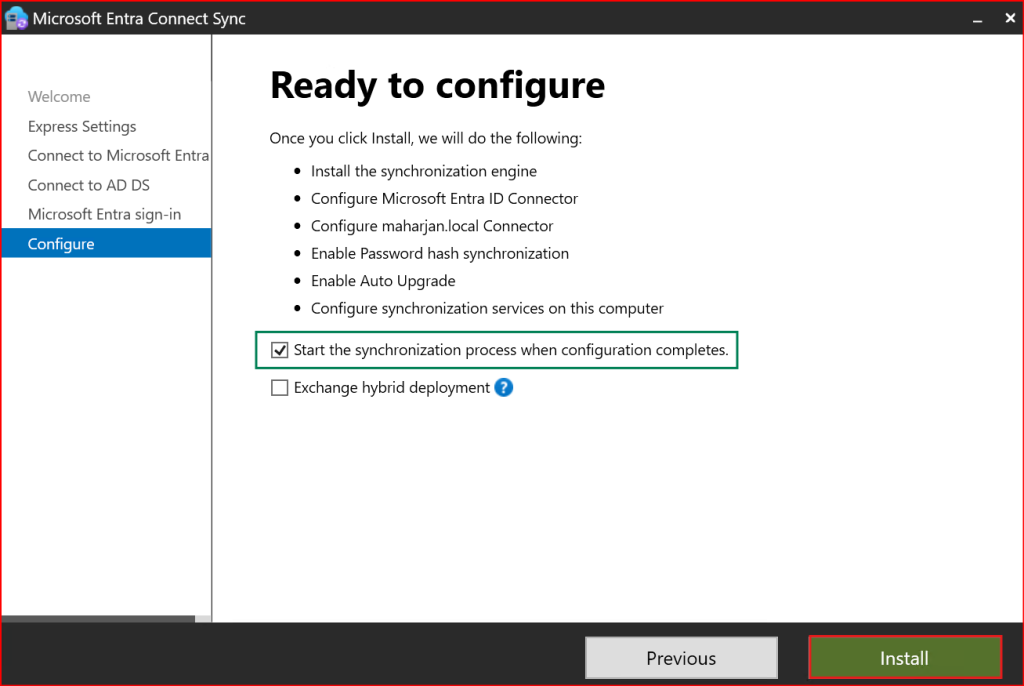
🔷 Step 9: Ready to Install – Start Installation
You will now see a final summary screen showing:
- Azure AD tenant
- AD forest
- Selected sign-in method
- Sync method (Password Hash Sync)
Click Install.
The installation usually takes 5–10 minutes.
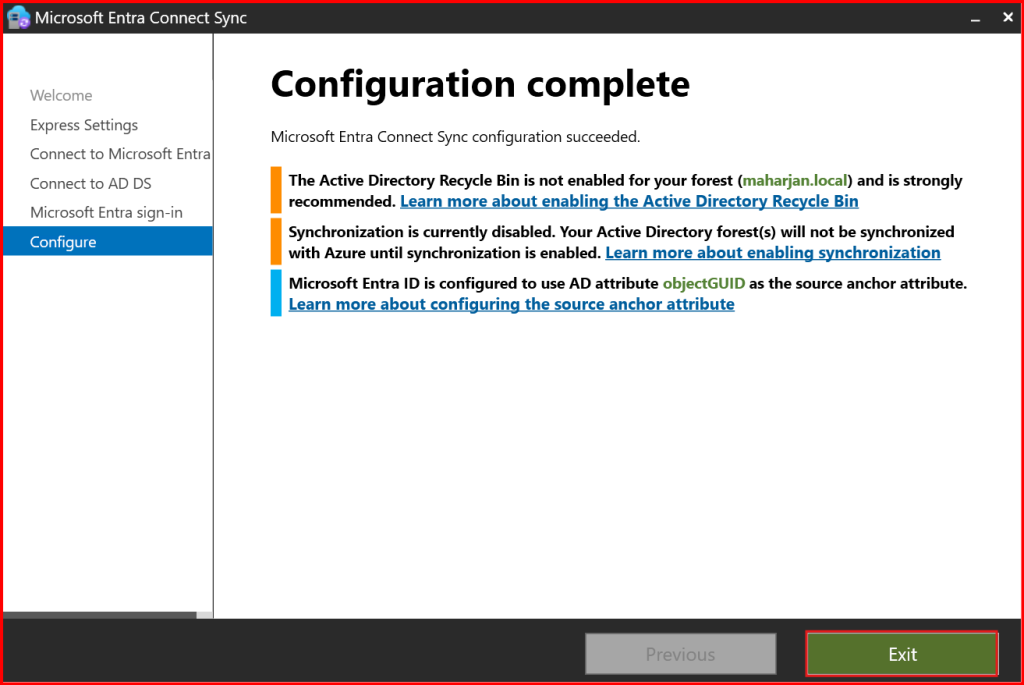
🔷 Step 10: Initial Sync Begins Automatically
Once installation completes, Azure AD Connect runs its first synchronization.
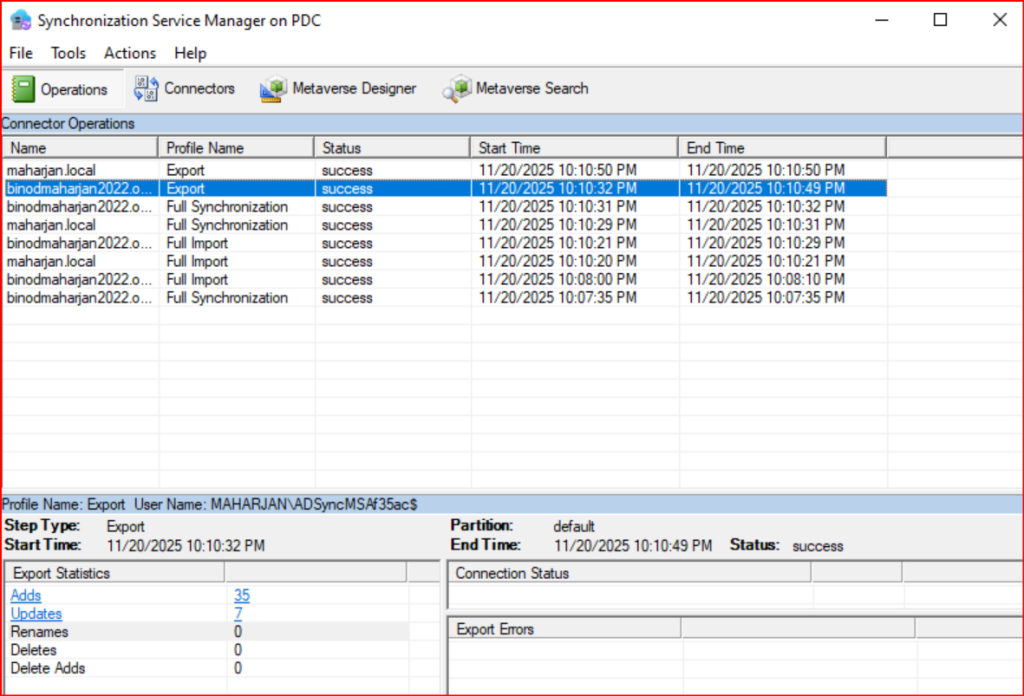
You can check sync progress using:
✔ Synchronization Service Manager
(Search “Synchronization Service” in Start menu)
OR
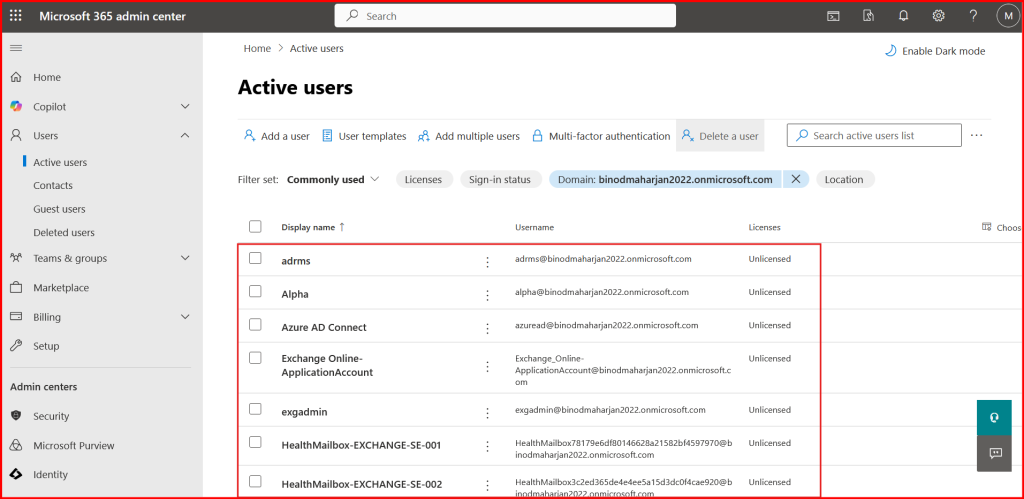
✔ Azure Portal → Azure Active Directory → Users
After a few minutes, you should see your AD users appear in Azure AD.
They will show:
Sync Type: Synced from Active Directory
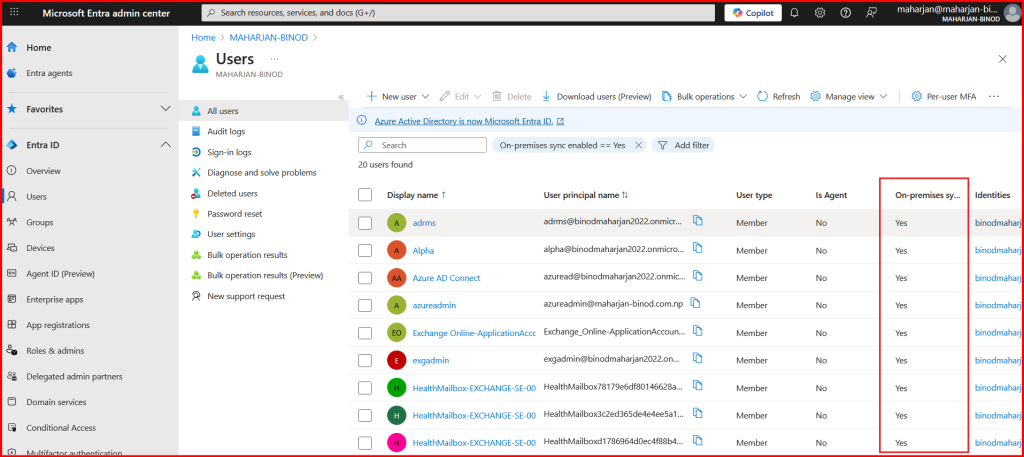
🔷 Step 11: Verify Users Are Syncing
To confirm synchronization:
- Go to Azure Portal
- Open Azure Active Directory
- Click Users
- Look for your on-prem AD usernames
If you see them → Sync is working!
🔷 Step 12: Verify Password Sync
Ask a user to sign in to:
Using their on-prem AD username and password.
If login works → Password sync is successful.
🔷 Step 13: Optional – Force a Manual Sync
You can run a manual sync using PowerShell:
✔ Delta Sync (changes only)
Start-ADSyncSyncCycle -PolicyType Delta
✔ Full Sync (all objects)
Start-ADSyncSyncCycle -PolicyType Initial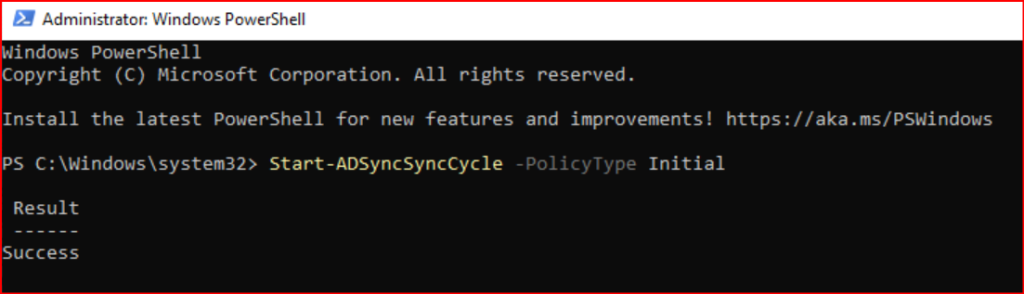
⭐ Conclusion
You have successfully installed Azure AD Connect and synchronized your on-prem Active Directory with Azure AD.
In this guide, you learned how to:
- Download and install Azure AD Connect
- Use Express installation
- Connect to Azure AD and on-prem AD
- Enable Password Hash Sync
- Start and verify synchronization
Your hybrid identity environment is now ready!
Leave a Reply