Building a resilient Exchange environment starts long before you double-click Setup.exe. To ensure a smooth deployment—especially with Exchange Server CU13 ISO—the foundation must be rock-solid. In this first part, we’ll cover the critical steps for OS hardening, prerequisite mapping, and the essential Active Directory preparation.
1. Operating System Hardening: The Security Baseline
Installing Windows Server is just the beginning. Before Exchange touches the tin, the OS must be hardened to reduce the attack surface.
- Minimal Features: Install only what is necessary. Avoid installing unnecessary roles like Print Services or IIS (Exchange will handle the IIS components it needs during setup).
- Rename and Static IP: Always rename the server and assign a static IPv4 address before joining the domain.
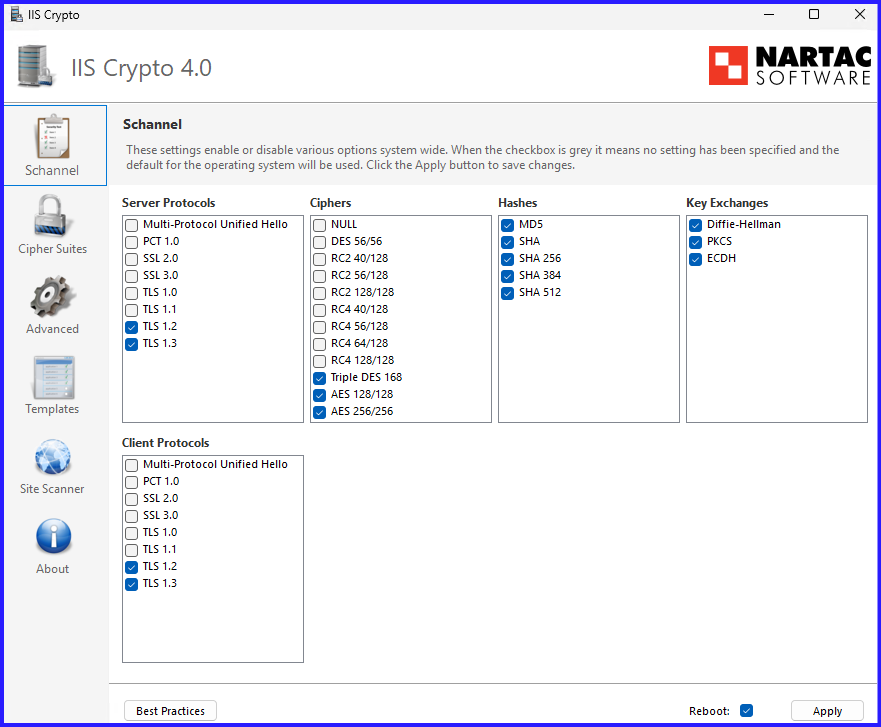
- TLS 1.3 and Cryptography: Exchange Server on Windows Server 2022/2025 supports modern encryption. Ensure legacy protocols like SSL 3.0, TLS 1.0, and 1.1 are disabled via Registry or Group Policy.
- Windows Updates: Ensure the OS is fully patched. A “Day 0” server should never be unpatched.
Pro Tip: Set your Page File to a fixed size (25% of RAM) during this phase to prevent disk fragmentation later.
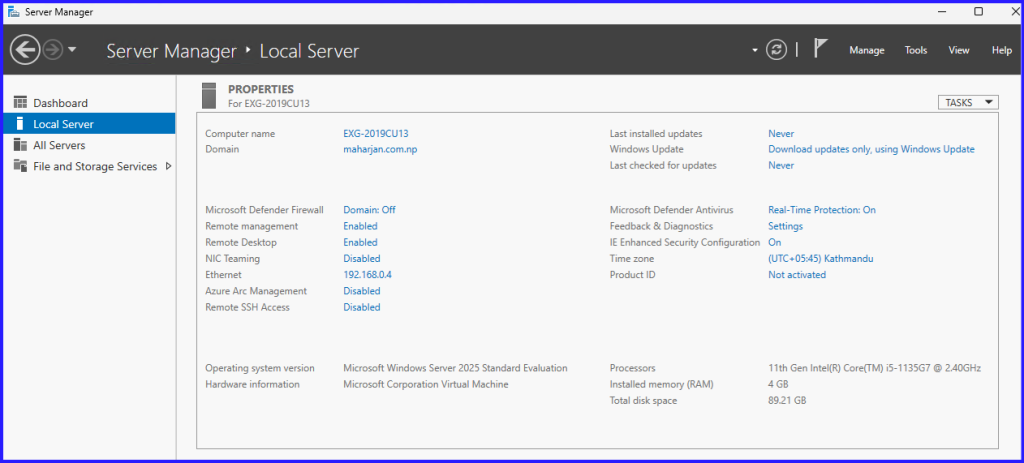
Once the OS installation is complete, the initial configuration is managed through the Server Manager Console.
Confirm that the server hardware and software configurations satisfy your organization’s minimum baseline for Exchange Server. Cross-reference your setup with the official Microsoft Documentation.
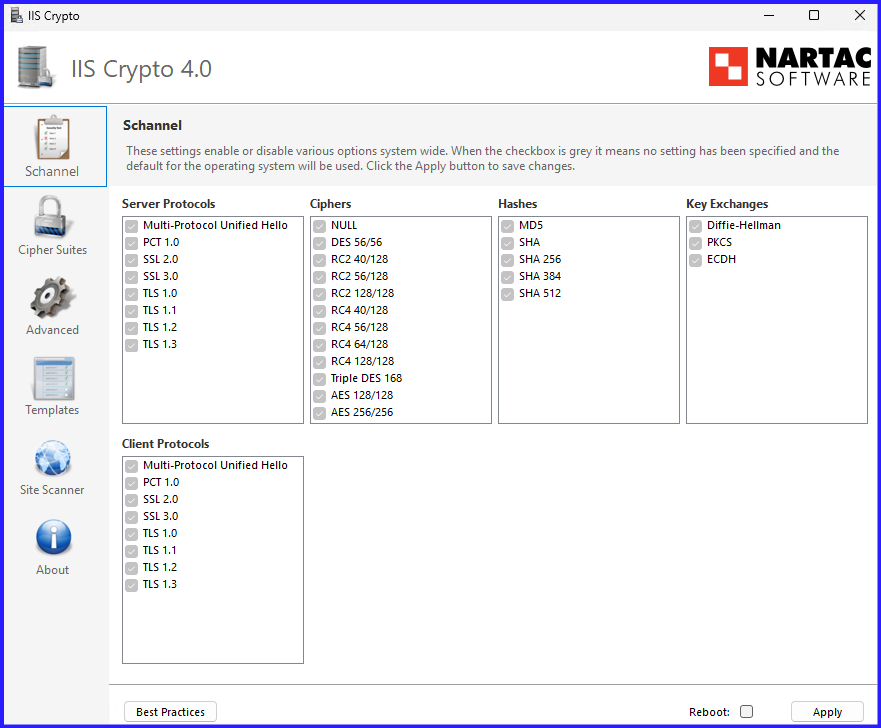
Download IIS Crypto tool for enabling Modern Encryption: Nartac Software – Download
By Default, Configuration:
Select Best Practices Configuration and Reboot.
2. Mandatory Infrastructure Prerequisites Installation
Exchange Server requires several Windows features and third-party components to handle web services and management tasks.
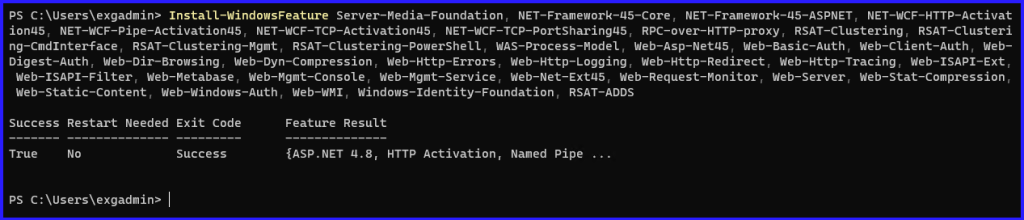
- IIS Components: You must install the Web Server (IIS) role with specific features like Dynamic Content Compression, Request Filtering, and Centralized SSL Certificate Support.
Install-WindowsFeature Server-Media-Foundation, NET-Framework-45-Core, NET-Framework-45-ASPNET, NET-WCF-HTTP-Activation45, NET-WCF-Pipe-Activation45, NET-WCF-TCP-Activation45, NET-WCF-TCP-PortSharing45, RPC-over-HTTP-proxy, RSAT-Clustering, RSAT-Clustering-CmdInterface, RSAT-Clustering-Mgmt, RSAT-Clustering-PowerShell, WAS-Process-Model, Web-Asp-Net45, Web-Basic-Auth, Web-Client-Auth, Web-Digest-Auth, Web-Dir-Browsing, Web-Dyn-Compression, Web-Http-Errors, Web-Http-Logging, Web-Http-Redirect, Web-Http-Tracing, Web-ISAPI-Ext, Web-ISAPI-Filter, Web-Metabase, Web-Mgmt-Console, Web-Mgmt-Service, Web-Net-Ext45, Web-Request-Monitor, Web-Server, Web-Stat-Compression, Web-Static-Content, Web-Windows-Auth, Web-WMI, Windows-Identity-Foundation, RSAT-ADDS
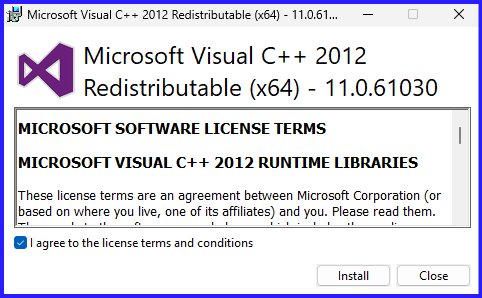
- Visual C++ Redistributable Package: Install the Visual C++ Redistributable Packages for Visual Studio 2013 (and 2012 in some legacy instances).

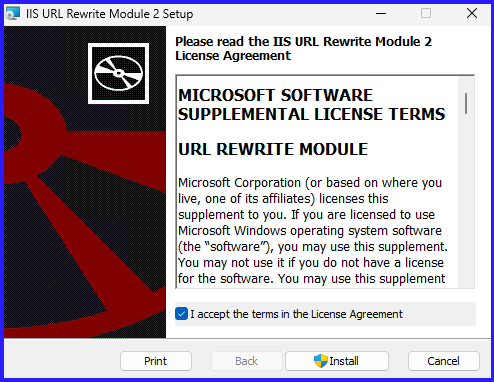
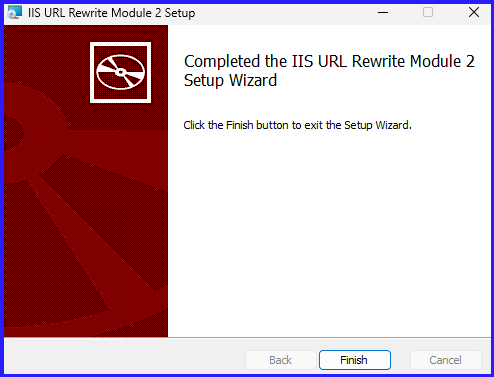
- IIS URL Rewrite Module: This is often overlooked but required for modern Exchange functionality.
Download: IIS URL Rewrite Module
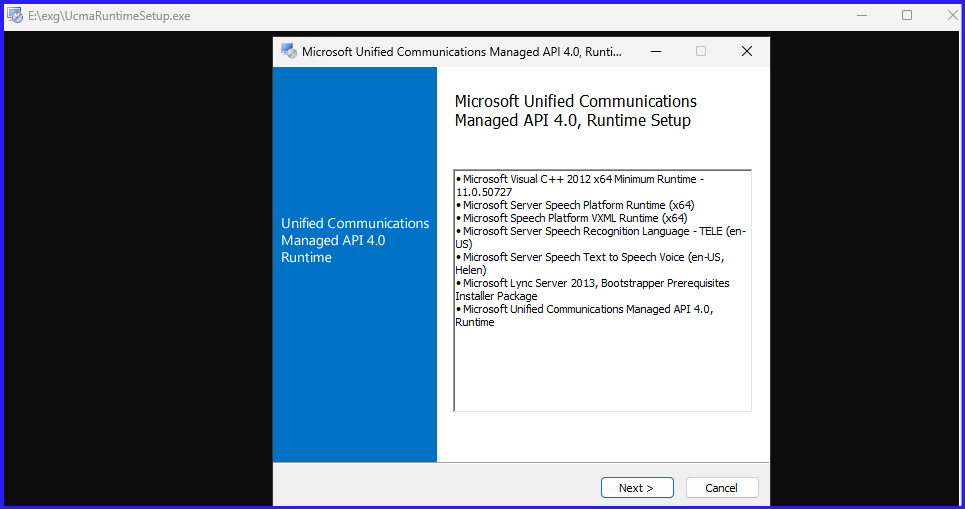
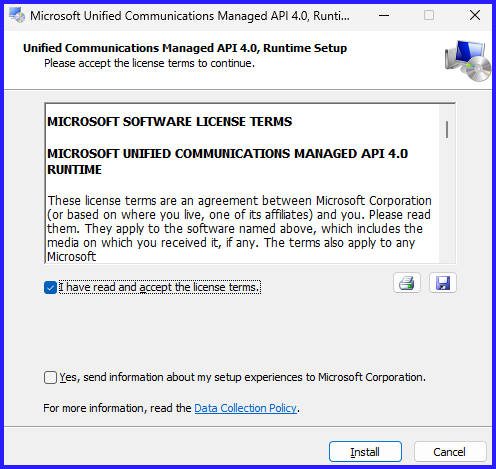
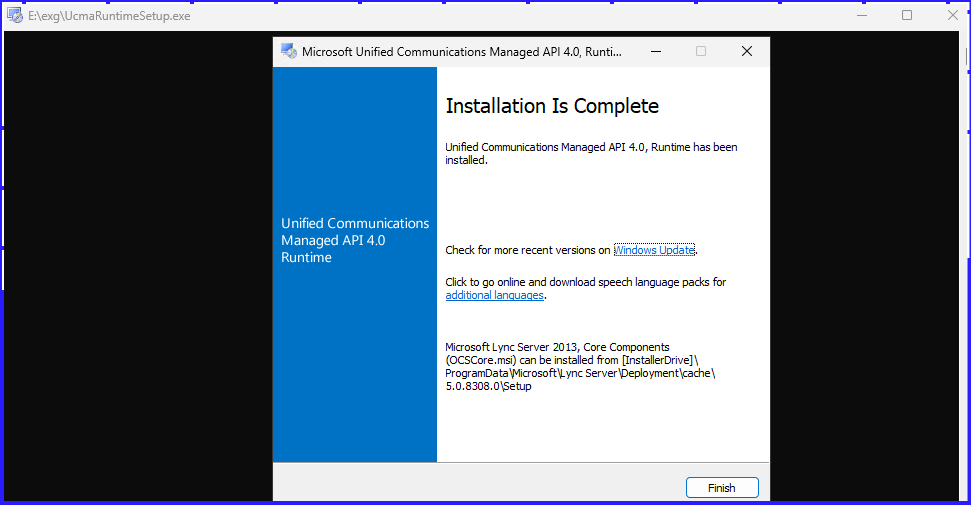
- Microsoft Foundation Class Library: Required for specific management tools.
Download from Microsoft: UCMA 4.0
3. Active Directory Preparation
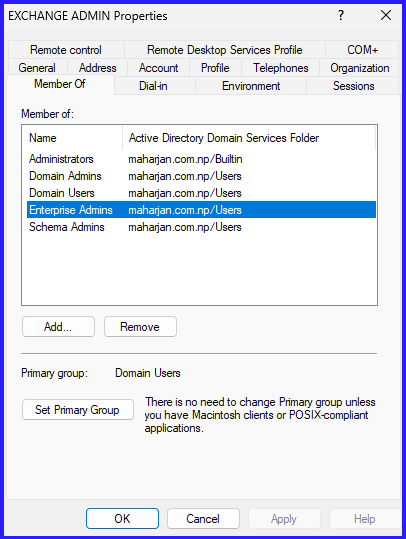
This is the most critical phase. You are modifying the very heart of your identity infrastructure. Ensure you are logged in with Schema Admin and Enterprise Admin credentials.
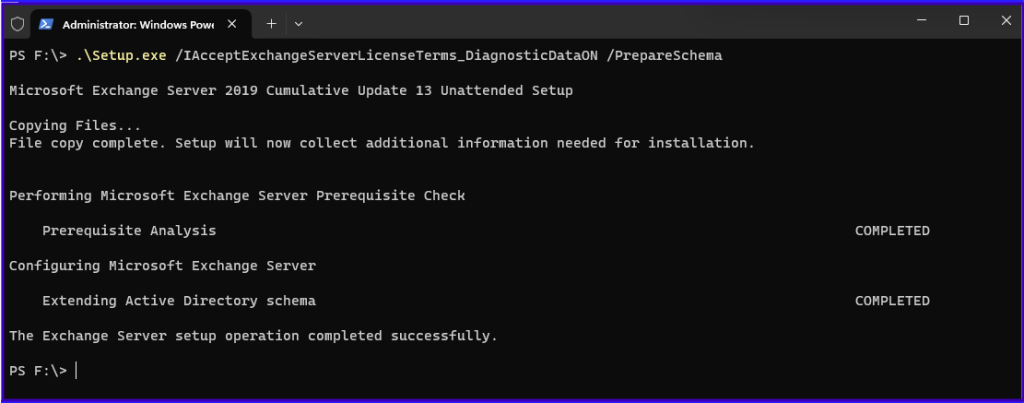
Step A: Prepare Schema
This extends the AD schema with new attributes and classes required for Exchange 2019.
Command:
.\Setup.exe /IAcceptExchangeServerLicenseTerms_DiagnosticDataON /PrepareSchema
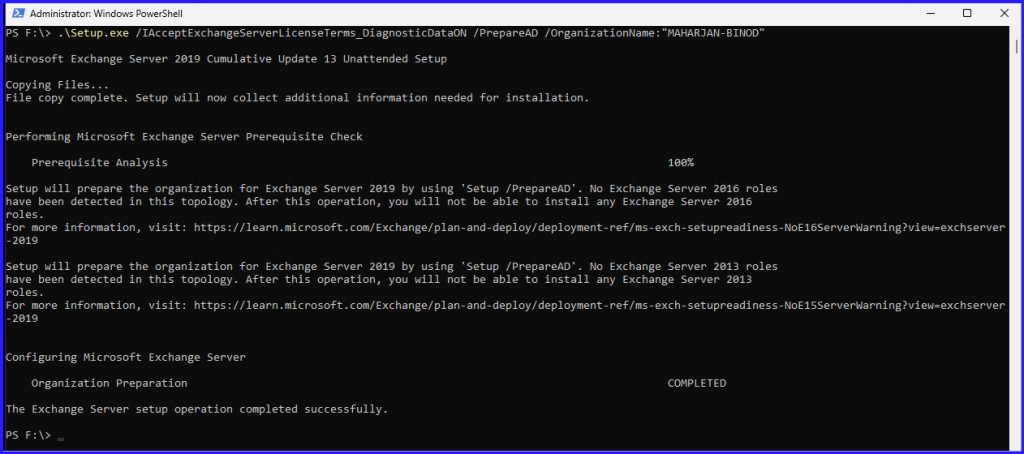
Step B: Prepare AD
This creates the containers, objects, and other items in Active Directory that will be used to store information about the Exchange organization.
Command:
.\Setup.exe /IAcceptExchangeServerLicenseTerms_DiagnosticDataON /PrepareAD /OrganizationName:"MAHARJAN-BINOD"
4. Verification of AD Prep
Never assume the prep was successful just because the command finished. Use ADSI Edit or PowerShell Script to verify the rangeUpper value of the Exchange Schema version.
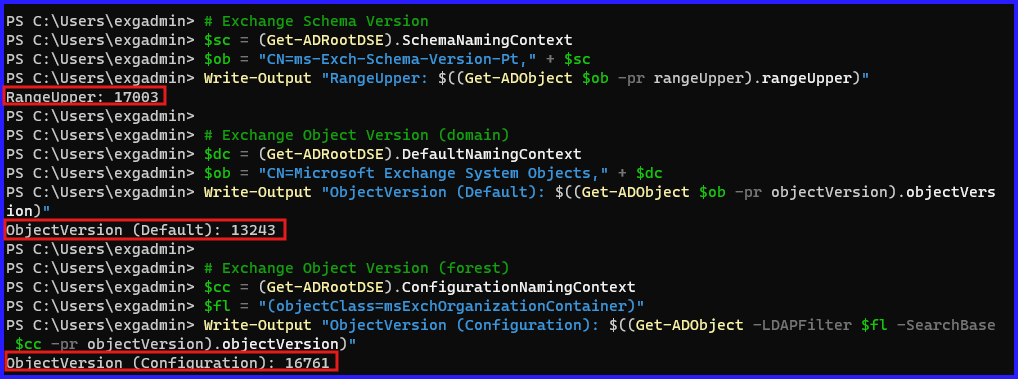
Use Script and Export Report in HTML.

Summary: What’s Next?
With a hardened OS and a prepared Active Directory, your environment is now ready for the actual Exchange binaries. You’ve mitigated common security risks and ensured that the “brain” of your network (AD) understands how to talk to Exchange.
In Part 2, we will dive into the actual installation of Exchange Server and the post-installation configuration steps.